
Help Scout Docs is a knowledge base and self-service support platform designed to help businesses deliver better customer support by making information easily accessible. It enables teams to create, organize, and share help articles, FAQs, and tutorials that customers can use to solve common issues on their own, without contacting support. The tool empowers support teams to work more efficiently and helps customers find answers faster, improving the overall customer experience.
If your credentials don't include full access to the data source, make sure your access level meets any permission requirements listed in the Specification section of the integration's page in the Metric Library.
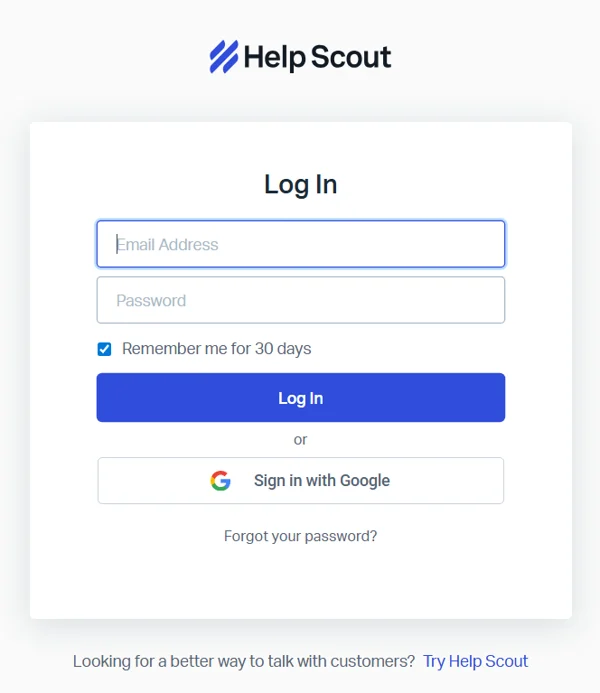
To connect Help Scout Docs to your Databox account for the first time, or when using new credentials, provide your login credentials or sign in with Google.
For comprehensive details on metrics, data availability, templates, specifications, usage guidelines, and other key information, refer to the resources listed below.


