
The Metric Library consists of over 3,000 pre-built Datablocks based off commonly used Metrics and Visualization Types to help you build new Databoards faster.

When you have opened the Designer, navigate to the Datablock Library on the left-hand sideto find the Metric Library section.
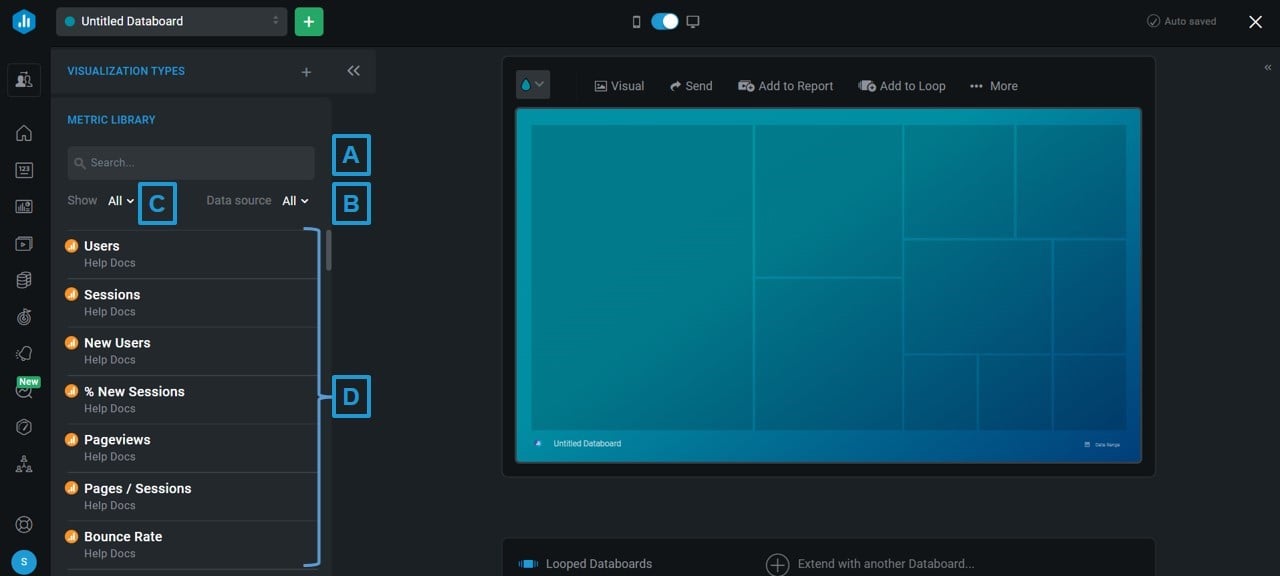
A) Search: Use the Search bar to find Datablocks that fit your use case.
B) Data Source: From the Data Source drop-down list, you can select the Data Source that you want to view pre-built Datablocks for. Once you add the Datablock to your Databoard, data from this Data Source will populate the Datablock.
C) Show: From the Show drop-down, you can view your Favorite, Basic, Custom, and Calculated Metrics. Learn more about Metrics here.
D) Datablocks: The Datablocks that populate this list were built to account for the most popular use cases. On the left side of the Datablock, you can see an image that represents the visualization of pre-built Datablock.
- Create a new Databoard to open an existing Databoard in the Databox Designer
- Navigate to the Datablock Library on the left-hand side of the Designer to find the Metric Library section.
- Select the Data Source you want to view Datablocks for from the Data Source drop-down list
- Find the Datablock you want to add to your Databoard, using the Search bar if necessary.
- Navigate between Favorite Basic, Custom and Calculated Metrics by clicking on the Show drop-down.
- Click on the green + button to add the Datablock to your Databoard. Another way to add the Datablock is to drag and drop the selected Datablock onto your Databoard. The Datablock will automatically populate with data from the Data Source that was selected in the Metric Library.