
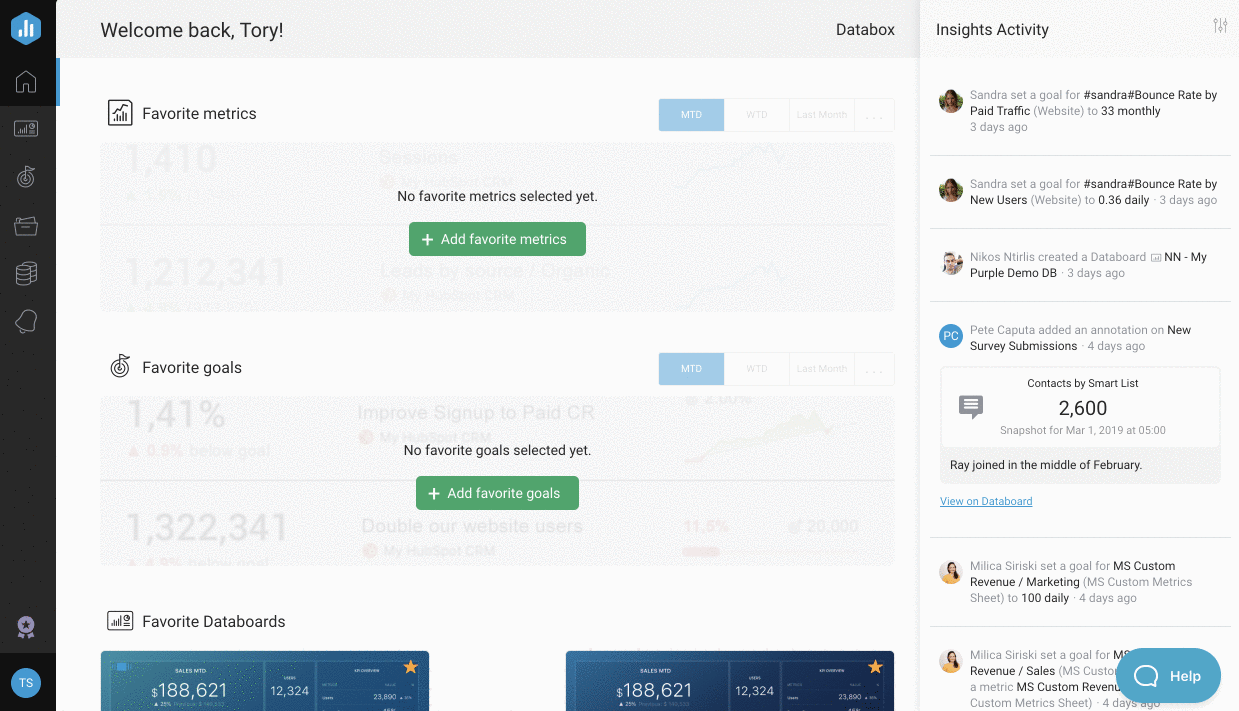
A Databoard is a dashboard that is made up of Datablocks. All Databoards are optimized for desktop and mobile use.
Navigate to the Databoards page. Click the green + New Databoard button to create a new Databoard.
You'll have the option to select Use Wizard or Start Blank. The Wizard will take you through a simple process, similar to the signup flow, that prompts you to select a Data Source and Metrics to immediately populate on the Databoard. If you choose to Start Blank, you will be taken directly to the Designer to create your Databoard from scratch.
The Metric Library consists of over 3,000 pre-built Datablocks which are combinations of Metrics and Visualizations Types based on the most popular use cases.
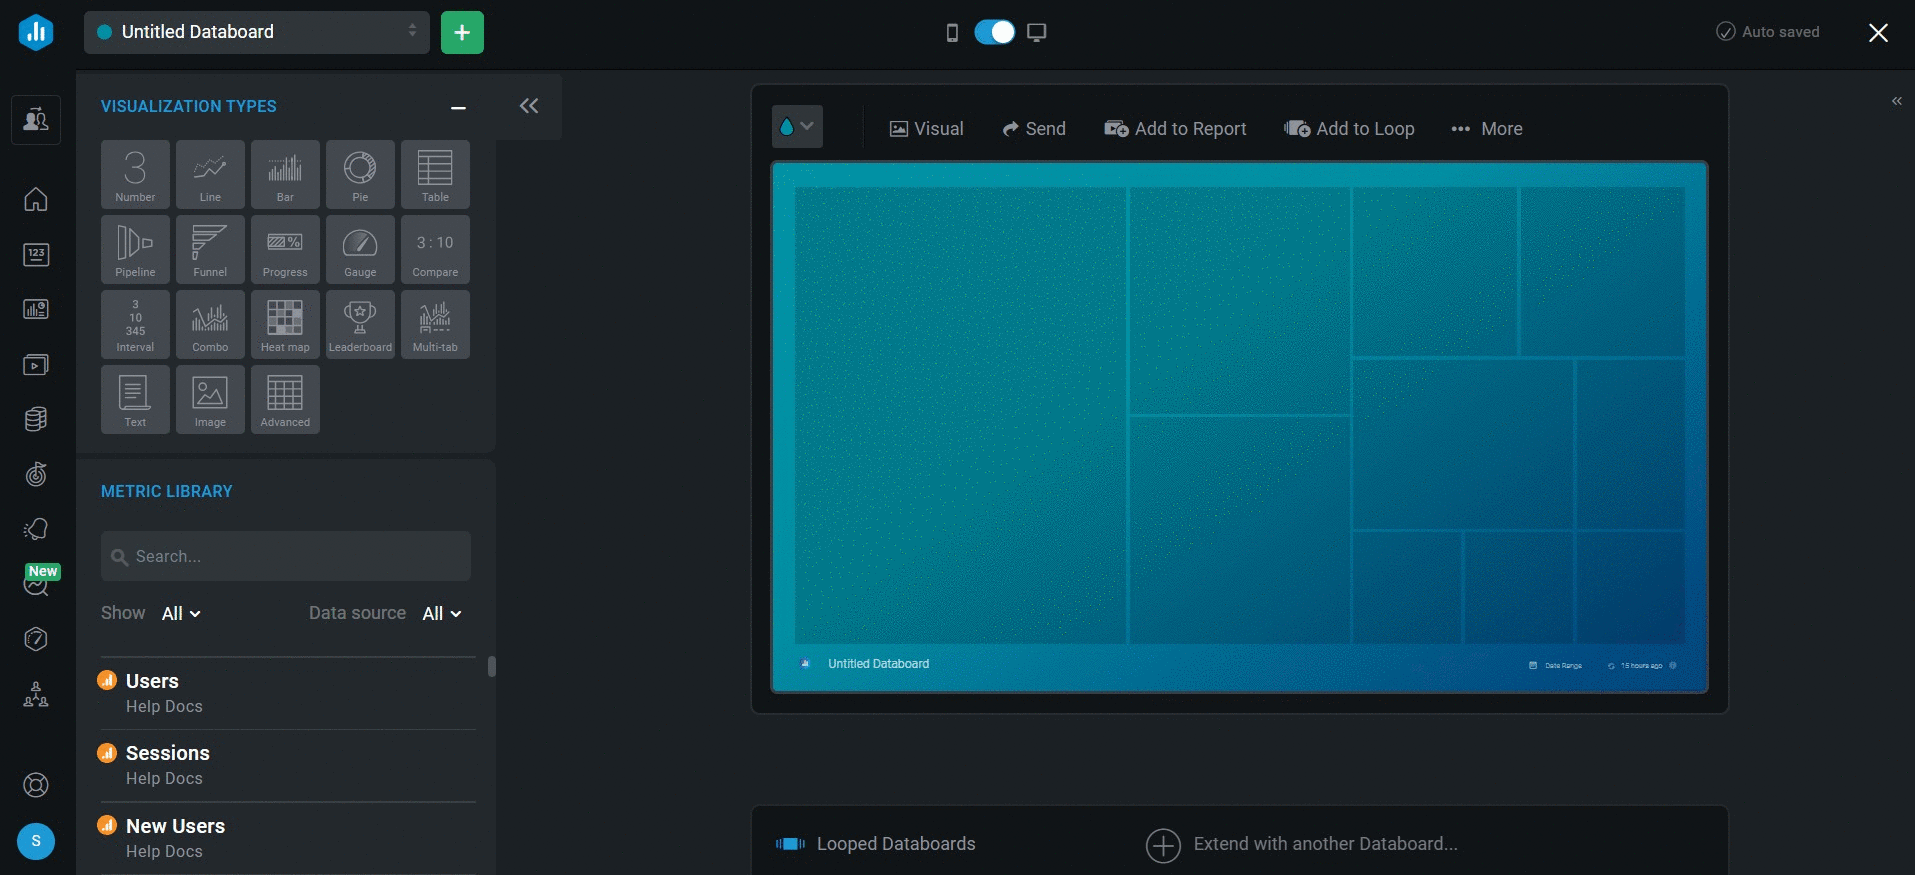
- Navigate to the Datablock Library on the left-hand side of the Designer to find the Metric Library section.
- Select the Data Source you want to view Datablocks for from the Data Source drop-down list
- Find the Datablock you want to add to your Databoard, using the Search bar if necessary.
- Navigate between Favorite, Basic, Custom and Calculated Metrics by clicking on the Show drop-down. Learn more about Basic, Custom and Calculated Metrics here.
- Pro Tip: All Metrics that you have added to your My Metrics screen will be accessible in the Metric Library as Favorite Metrics.
- Click on the green + button to add the Datablock to your Databoard. Another way to add the Datablock is to drag and drop the selected Datablock onto your Databoard. The Datablock will automatically populate with data from the Data Source that was selected in the Metric Library.
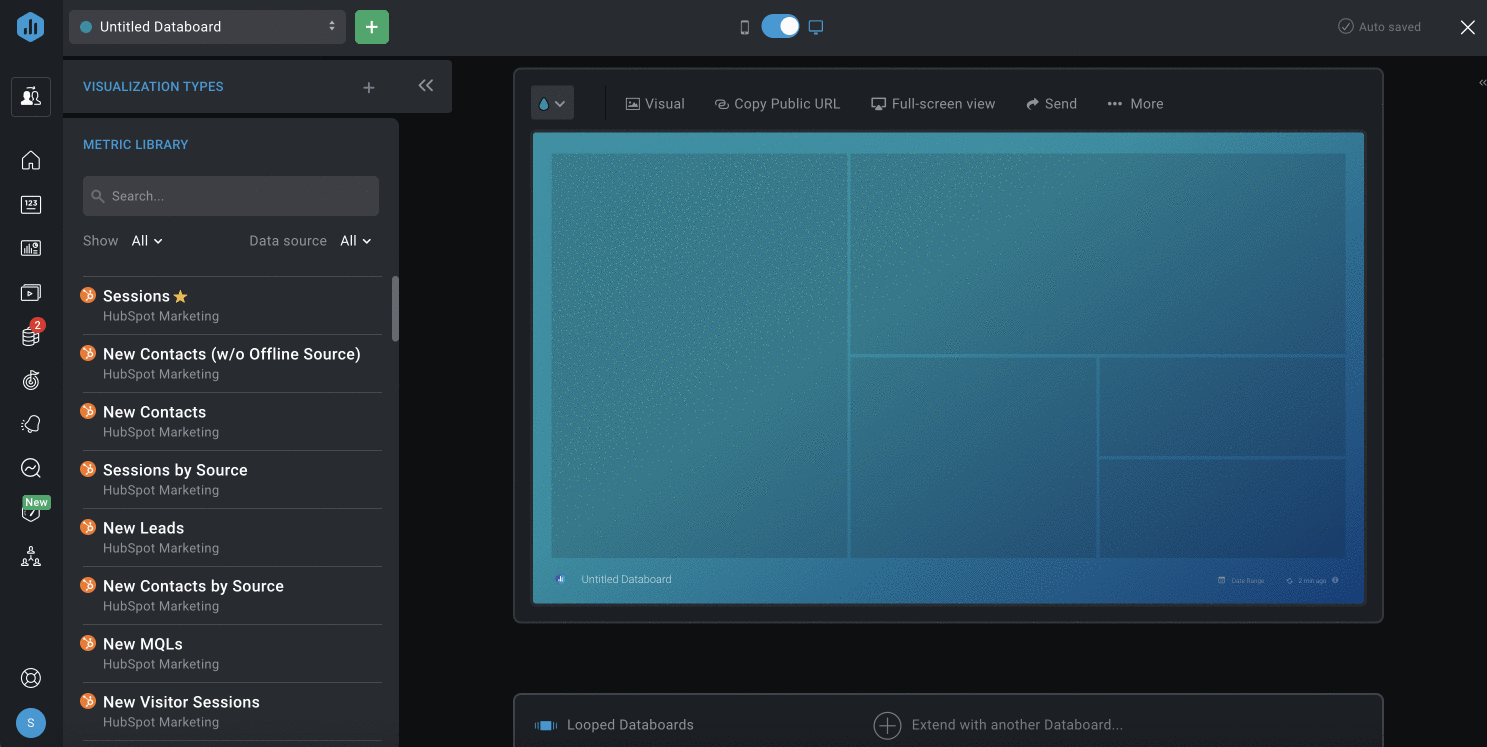
- Navigate to the Datablock Library on the left-hand side of the Designer to find the Visualization Type section.
- Find the visualization you want to add to your Databoard. Click on the Visualization or drag and drop the selected visualization from the Visualization Library to your Databoard. This will automatically produce a blank Datablock on your Databoard.
- Click on the Datablock to open the Datablock Editor on the right-hand side of the Designer. From here, you can select the Data source, Metric, Date Range, and additional customization options for the Datablock.
- To add another Datablock to the Databoard, navigate back to Visualization Types and choose the next visualization that you want to add to your Databoard.
- Click on the Visualization or drag and drop the selected Datablock to your Databoard. Customize the Datablock using the Datablock Editor on the right-hand side.
- Repeat this process for the remaining Datablocks you want to add to your Databoard.
Learn how to add Metrics from the Metrics screen to a Databoard here.
Learn how to create a Databoard using data from multiple Data Sources here.