Availability
![]() One or more features exclusive to select subscription plans
One or more features exclusive to select subscription plans
WooCommerce is a flexible eCommerce platform built on WordPress that enables businesses to sell products and services online. It provides tools to manage products, process orders, handle payments, configure shipping and taxes, and manage customer information. Store owners can use WooCommerce data to understand revenue trends, purchasing behavior, and overall store performance, helping them make informed decisions to grow their business.
Connection
Before you begin
If your credentials don’t include full access to the data source, make sure your access level meets any permission requirements listed in the Specification section of the integration's page in the Metric Library.
Step 1: Generate API credentials in WooCommerce
Databox uses WooCommerce REST API credentials to securely authenticate your store connection.
Follow WooCommerce’s official documentation to generate a REST API Consumer Key and Consumer Secret.
After generating the credentials, copy and store the Consumer Key and Consumer Secret securely. You will need to paste them into Databox in the next step.
Step 2: Add your WooCommerce details in Databox
- In Databox, enter your Website URL. Your domain should look like
yourstore.com(do not includehttp://orhttps://). - Paste the Consumer Key you generated in Step 1.
- Paste the Consumer Secret.
- Click Connect.

 Metric Builder
The WooCommerce integration allows you to create custom metrics using the metric builder, ideal for visualizing data not included in the basic metrics offered by the integration.
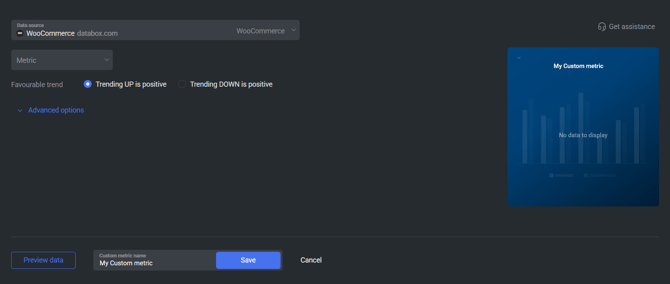
To create a custom metric, start by selecting a metric from the “Metric” selector. Next, customize your metric by optionally adding a dimension and applying one or more filters. The available options depend on the selected entity and data type (e.g., number, text, etc.).
The available metric options include standard WooCommerce revenue and order metrics such as Gross Sales, Net Sales, Total Sales, Orders, Products Sold, Returns, Shipping, Total Taxes, Coupons Amount, Coupon Orders, Avg. Order Value, Avg. Items per Order, and Total Customers.
These metrics reflect aggregated store performance based on the same WooCommerce Analytics data available in your WordPress dashboard.
 Datasets
The WooCommerce integration supports the creation of datasets, which allow you to structure and format your WooCommerce data for more flexible reporting in Databox. By organizing your data into a tabular format, datasets make it easier to filter, segment, and visualize key metrics across projects, clients, and team members.
The entity relationship diagram (ERD) below illustrates how data is organized within the WooCommerce integration, displaying the available views and columns, as well as the relationships between them (primary and foreign keys). This diagram represents the schema, or structure, of the data and helps you understand the underlying data model. With this context, you can create datasets using the relevant views and columns to build custom metrics tailored to your reporting needs.

To explore the interactive version of this diagram, hover over the image and click the link.
Resources
For comprehensive details on metrics, data availability, templates, specifications, usage guidelines, and other key information, refer to the resources listed below.
 Metrics & Templates |
 Technical Details |
 Behavior & Usage |
 Notes |
Frequently Asked Questions
Why are certain entities or properties unavailable in the metric builder?
The metric builder pulls raw and analytics data from WooCommerce's APIs. If an entity or property is missing, it is likely due to limited API support or technical implementation restrictions. If there's something you'd like to see included, feel free to submit a request on our Roadmap, so we can consider it for future updates to the integration.
Still need help?
Visit our community, send us an email, or start a chat in Databox.