
From the My Profile page in Databox's Account Management Application, you can update your account and user information, including your name, password, and security-related settings. From here, you can also invite new users to your account.
Open your Databox Analytics Account and navigate to Account > My Profile to access your Profile in the Account Management Application.
- Navigate totheBasic Information section > Profile Photo
- Click on the Pencilicon on the right-hand side of the row. This will open a Profile Photo window.
- Click on your Profile Photo.You can Drag and Dropa photo or Browse to pick a photo from your storage.
- Adjust your Profile Photo image size using the Zoom slider.
- Click the blue Save button.
Navigate to the Basic Informationand click on the Name, Job title, Department, Role,orTime zonefields to update your information.
After you update the text, click on the checkmark to save the new text, or the Xto delete the new text and revert to the original.
Navigate theEmail section
Click on the green Changebutton. This will open a window where you can enter your new email address.
After you have entered your new email address, click the green Yes, Changebutton. This will send a confirmation email to your old (original) email address to confirm the change.
- Pro Tip: A notification message is shown to inform you about the pending confirmation. If you have not received a confirmation email to your old email address, click on Resend e-mail. If you want to cancel this Email change, click on Cancel. If you are unable to confirm the change from the original email address, please contact our Support Team via chat or email at help@databox.com.
Click on the link you received to your old email address to confirm the new email address. After there has been confirmation from your old email address, a confirmation email is sent to the new email address.
Click on the link you received on your new email address to complete the email change process.
- Pro Tip: Until the email change is confirmed also from the new email address, the old email address will stay active for your account.
When you have confirmed the email change from both email addresses, your new email address will be saved.
By default, all Notifications are sent to the email address associated with the Databox user.
To turn off Notifications or enable Notifications to be sent to your Email or Slack, navigate to Notifications and select the appropriate checkboxes. Learn how to send Databox data to Slack here.
Navigate to Notifications section and click on Unsubscribe from Marketing Emails.
- Navigate to the Password tab in the Password & Security section and click on the green Changebutton.
- Enter your O****ld Password.
- Enter your New Password.
- Enter your New Passwordagain to confirm it.
- Click on the green Change Passwordbutton to save your New Password.
After a successful confirmation, your New Password will be saved and a Notification email will be sent to your email address which will confirm the password change.
Learn how to enable two-factor authentication here.
You can add an Identity Provider if you didn't initially Sign Up using your Google Account. By adding an Identity Provider, such as your Google Account, you can log in faster to Databox.

Navigate to the Identity Providertab in thePassword & Security section to add an Identity Provider. Click on the Sign-up with Google button. This will open the Authorization window, where you will be prompted to enter your Google login credentials.
- Navigate to the Invite User tab in the Users section and click on the green Invitebutton.
- Enter the E****mail Address of the new user. This should be the email address they use to log in to Databox.
- Select the User Role for the new user. The user role will determine the access and permission levels of the new user in Databox. Learn more about User Roles here.
- Click on the green Invite Users button. An email will be sent to the Admin of this account to approve this invitation request. The invitation will remain pending until the Admin approves it.
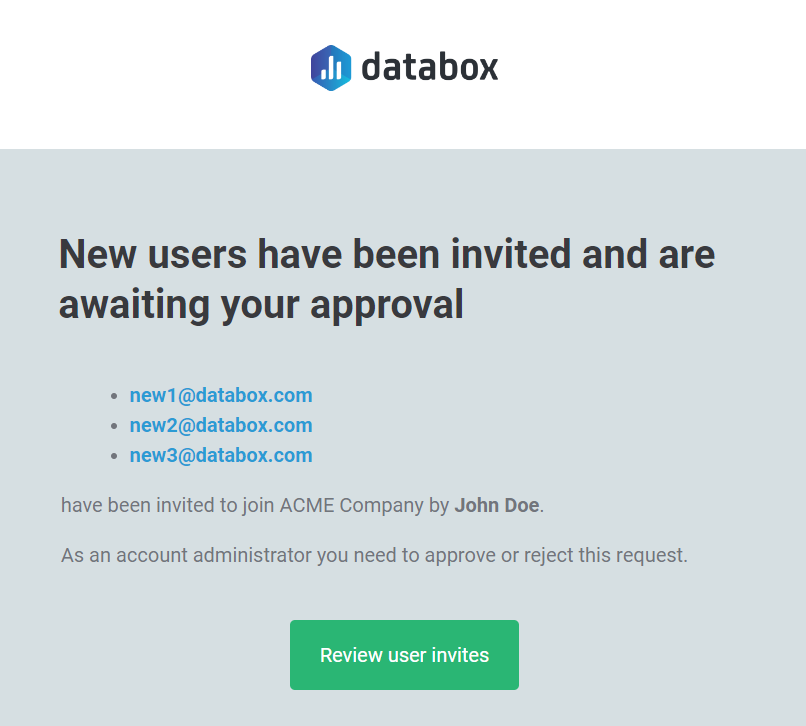
- If you are the Admin of the account, open your email that you use to log in to Databox and click the green Review User Invite button. This will take you to the User Management Page of your Databox Analytics Account.
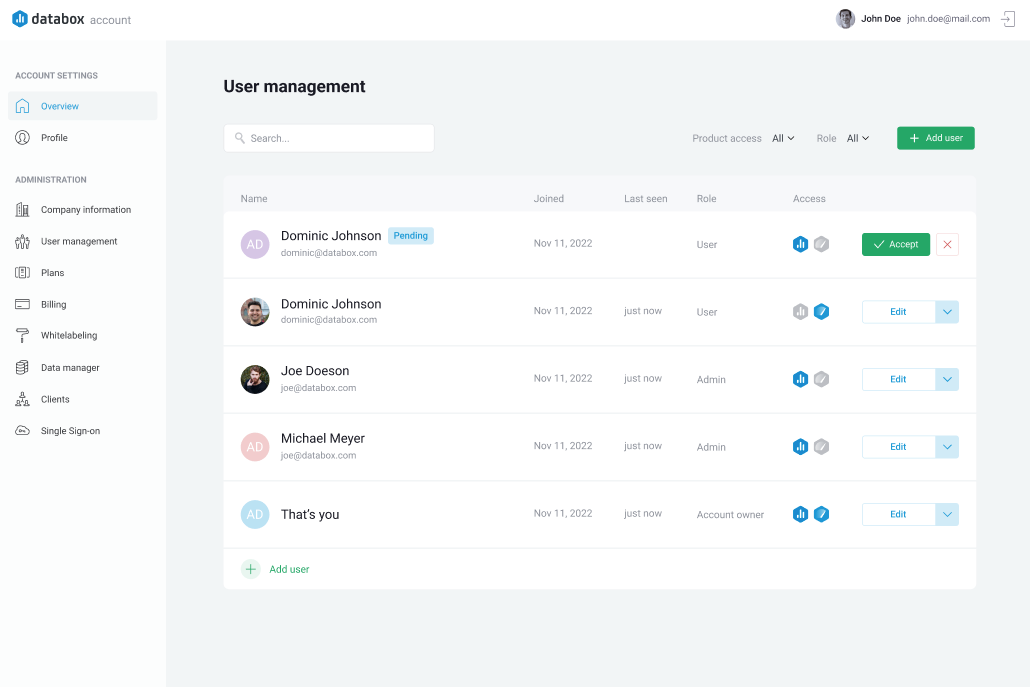
- As an Admin, on the User Management Page, you can approve the pending Invitation by clicking on the green Accept button as shown below.
- The new user will receive an email invitation with their password and a verification link. After verifying their information, they will be able to log in to the Databox Account.