How to add a User that already exists in the Databox system
Each email address can only be associated with one Databox User. The steps below outline how to add a user to multiple Databox Accounts.
HOW TO
- Identify a User already associated with a Databox Account
- Give a User access to a new Account & remove Access to an old Account
- Give a User access to multiple Databox Accounts at once
How to identify a User already associated with a Databox Account
If you're attempting to add a new User in an existing Databox Account, you'll receive the following message if the email address is already associated with a User in the Databox system. In most cases, the User created a standalone Free Account by mistake.

If you're attempting to create a new Databox Account, you'll receive the following message if the email address is already associated with a User in the Databox system.

How to give a User access to a new Account & remove Access to an old Account
Since it's already been determined that the User does not need access to the old Account, the first step is to disassociate the email address with that Account. Below are 3 ways to disassociate the email address from the old Account.
- Change the User's email address in the old Account: In order to do this, you have to be logged in as the User whose email address you're changing. Follow these steps to change a User's email address in Databox.
- Delete the User from the old Account: The Account Owner or Admins in the old Account can delete a User from the User Management page in Databox. Learn more here.
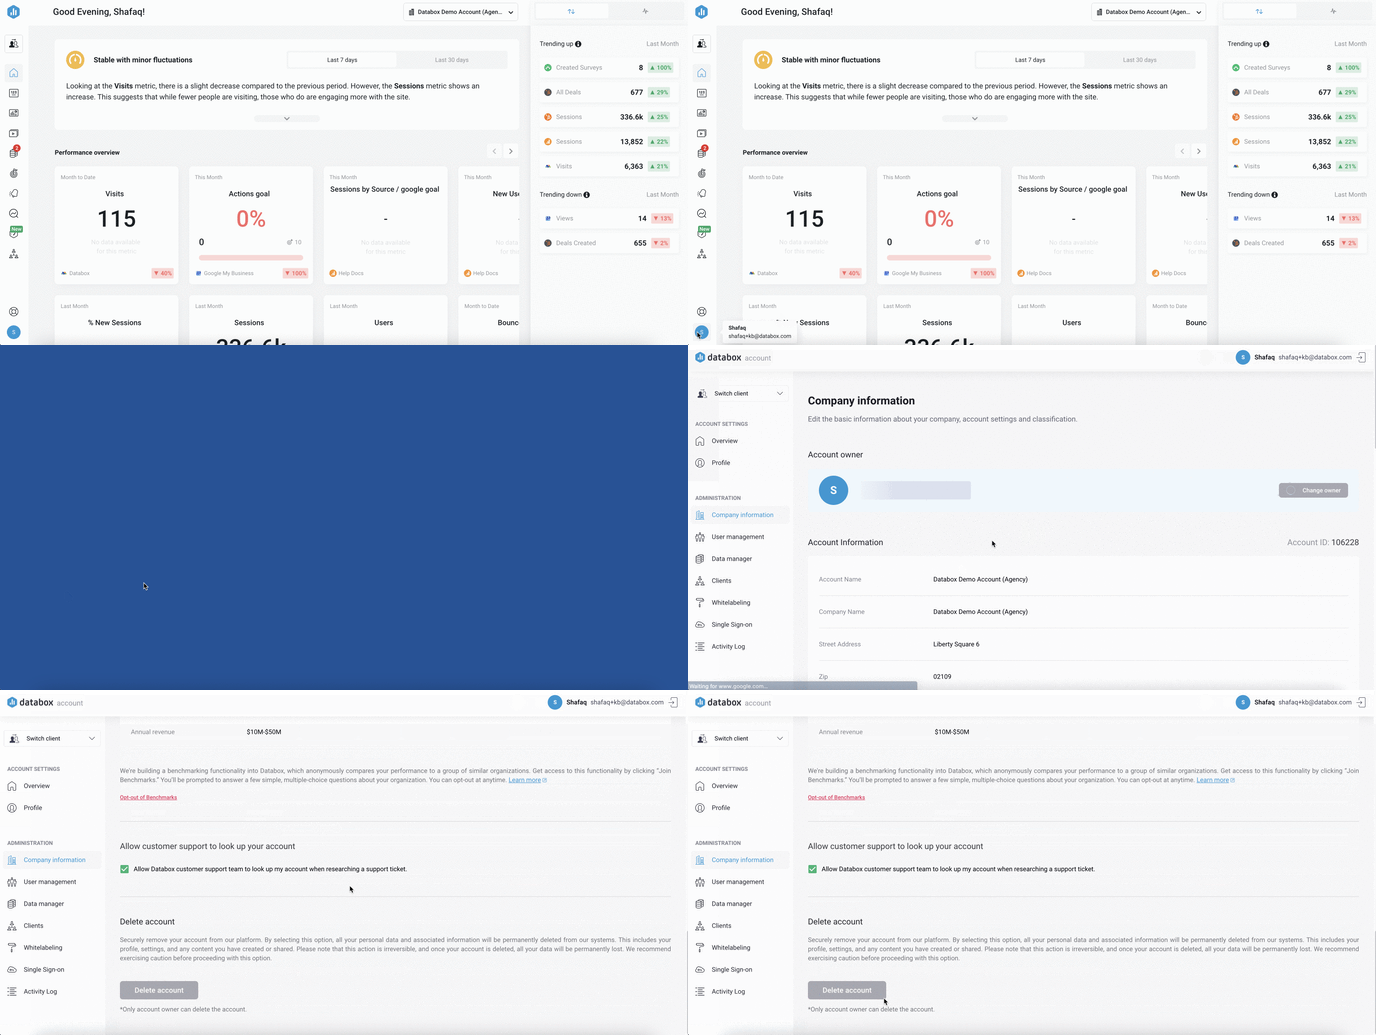
- Delete the old Account: If you don't need the old Account anymore, or you've created it by mistake, you can permanently delete your Account from the Account Management Application. In your Databox Analytics Account, navigate to Account > Account Management to access your Company Information. Learn more about this here. Navigate to Delete Account and click on the Delete Account button. Fill in the required information in the pop-up window. Click the red Yes, delete button to delete your account.

How to give a User access to multiple Databox Accounts at once
Gmail Users
If you are using a Google-based email solution like Gmail, then this can be done using the “+” operator. Your email service will read the "+" and ignore anything after it, so you will still receive all emails sent to this address. However, Databox will register this as a unique email address, which allows it to be associated with multiple Users in Databox.
Example: The email address "john+1@databox.com" is registered as a different address than "john@databox.com" by the Databox system. Therefore, "john+1@databox.com" can be successfully added to Databox Account 2 while "john@databox.com" is already a User in Databox Account 1. Any emails sent to "john+1@databox.com" will go to the inbox of "john@databox.com."


Pro Tip: You can replace the text after the "+" operator with anything you want. For example: "user+companyname@yourdomain.com" or "user+clientname@yourdomain.com."
Microsoft 365 Users
If you are using a Microsoft 365 email server and have admin permissions, you can create an Alias in order to add the same User to multiple Databox Accounts. You can create up to 400 aliases for a Microsoft 365 user. No additional fees or licenses are required.
Pro Tip: Aliases can only be created by Office 365 global admins who have Business subscriptions.
Pro Tip: If you receive an error message saying "A parameter cannot be found that matches parameter name 'EmailAddresses'," it means that it's taking a bit longer to finish setting up your tenant or your custom domain (if you recently added one). The setup process can take up to 4 hours to complete. If the problem persists, contact Microsoft's Support Team to request a full sync.