
Moz is an SEO software platform that provides domain authority scores, backlink analysis, keyword research, and link metrics through its proprietary index. It is widely used by SEO professionals and digital marketers to evaluate site authority, track link profiles, and benchmark performance against competitors. Connecting Moz to Databox makes your domain and link metrics available alongside other marketing data, so you can monitor SEO authority trends over time and report on competitive positioning in shared dashboards.
If your credentials don't include full access to the data source, make sure your access level meets any permission requirements listed in the Specification section of the integration's page in the Metric Library.
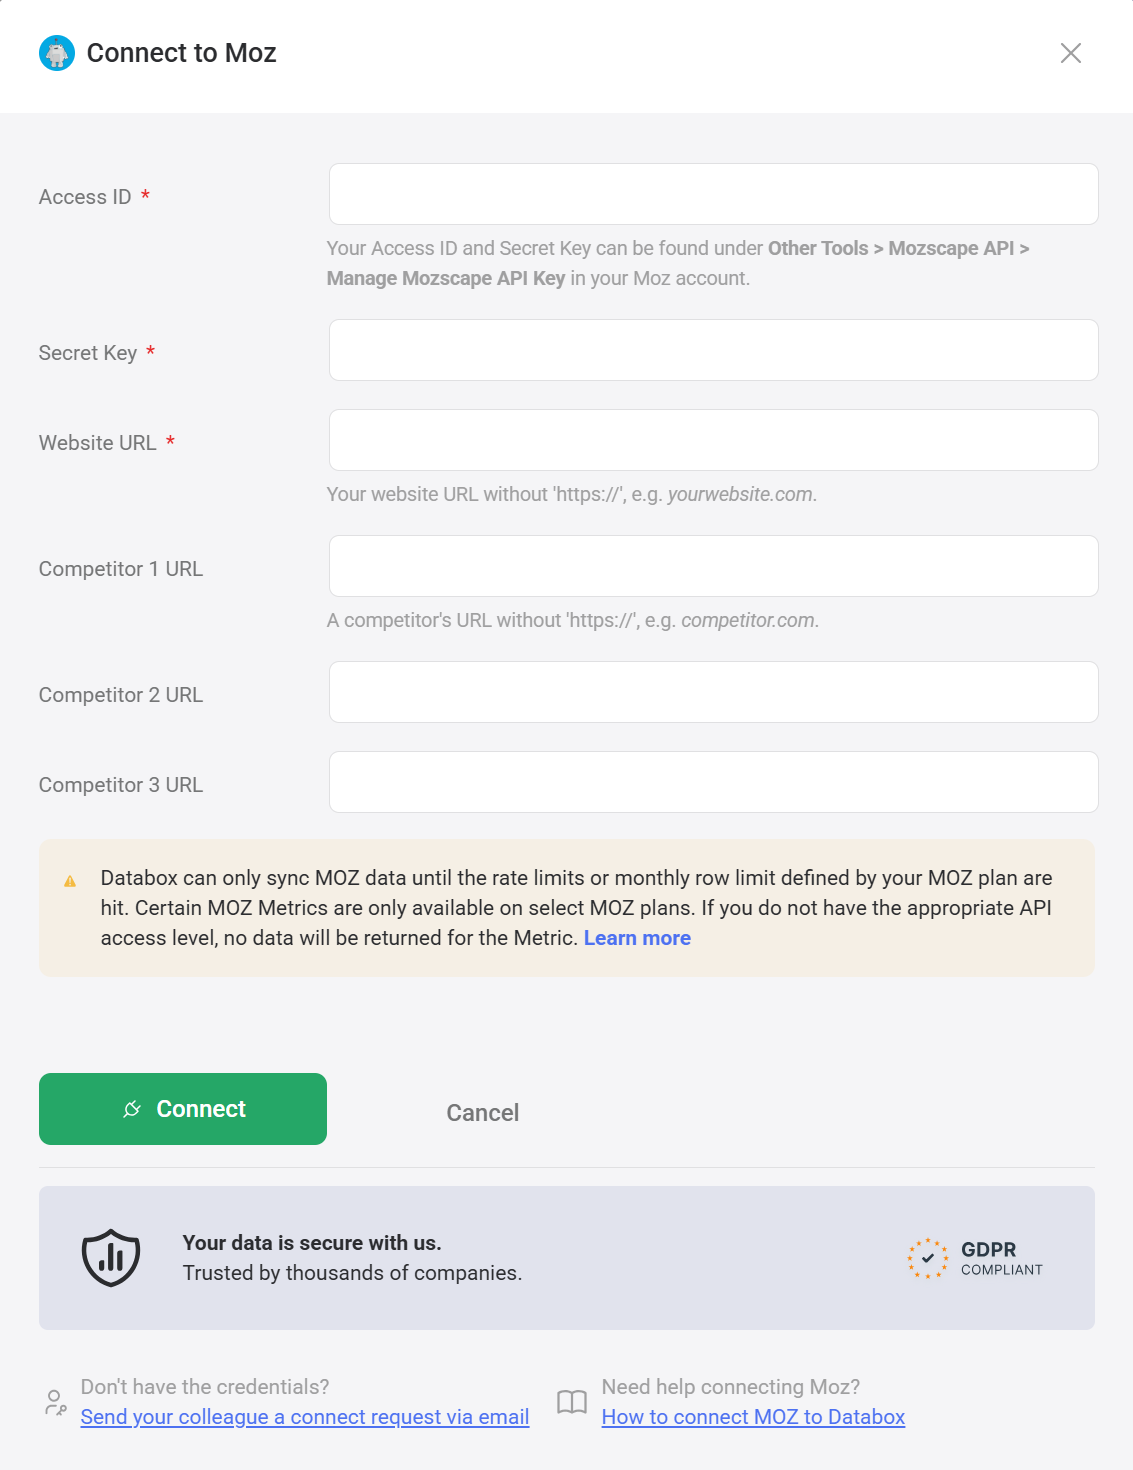
Your Moz API credentials are found in your Moz account under Other Tools > Mozscape API > Manage Mozscape API Key. From that page, copy your Access ID and Secret Key — you will need both to complete the connection in Databox.
To connect Moz to your Databox account for the first time, fill in the following fields:
- Enter your Access ID.
- Enter your Secret Key.
- Enter your Website URL — the domain you want to track, without
https://(e.g.yourwebsite.com). - Optionally, enter up to three competitor domains in the Competitor 1 URL, Competitor 2 URL, and Competitor 3 URL fields, each without
https://(e.g.competitor.com). - Click Connect.
For comprehensive details on metrics, data availability, templates, specifications, usage guidelines, and other key information, refer to the resources listed below.


FAQ
Can I change which competitor URLs are tracked after connecting?
Yes. To update competitor URLs, go to Data Manager, find your Moz data source, open the dropdown next to Details, and select Edit. Update the competitor URL fields and save. Note that competitor data is only available for the URLs entered in the connection dialog — no data is collected retroactively for newly added competitors.
No data is appearing for some Moz metrics — why?
This is most commonly caused by an API plan mismatch. Certain Moz metrics are only available on paid API tiers. If your account uses the Free API, Root Domain, Subdomain, and External Inbound Links metrics will not return data. Upgrading your Moz API plan and re-syncing should resolve the issue. Rate limits can also cause partial syncs — if your Free API monthly row limit has been reached, no additional data will be returned until the next billing period.


