Staying on top of your metrics shouldn't require switching tools. Connecting your Slack workspace to Databox delivers Databoard snapshots, report exports, scorecards, Smart Alerts, and manual alerts directly to Slack channels or as direct messages — so your team gets timely updates where they already work. You only need to connect once, and it works across all supported notification types in your account.
When setting up a notification that supports Slack delivery, a Connect link appears next to the Slack option in the delivery method section. Clicking it opens the Slack authorization window.
- In the notification configuration panel, click Connect next to the Slack delivery option.
- Enter your Slack workspace URL and click Continue.
- Sign in to your Slack workspace using Google, Apple, or your email address.
- Complete any additional verification steps required by your workspace, such as a two-factor authentication code.
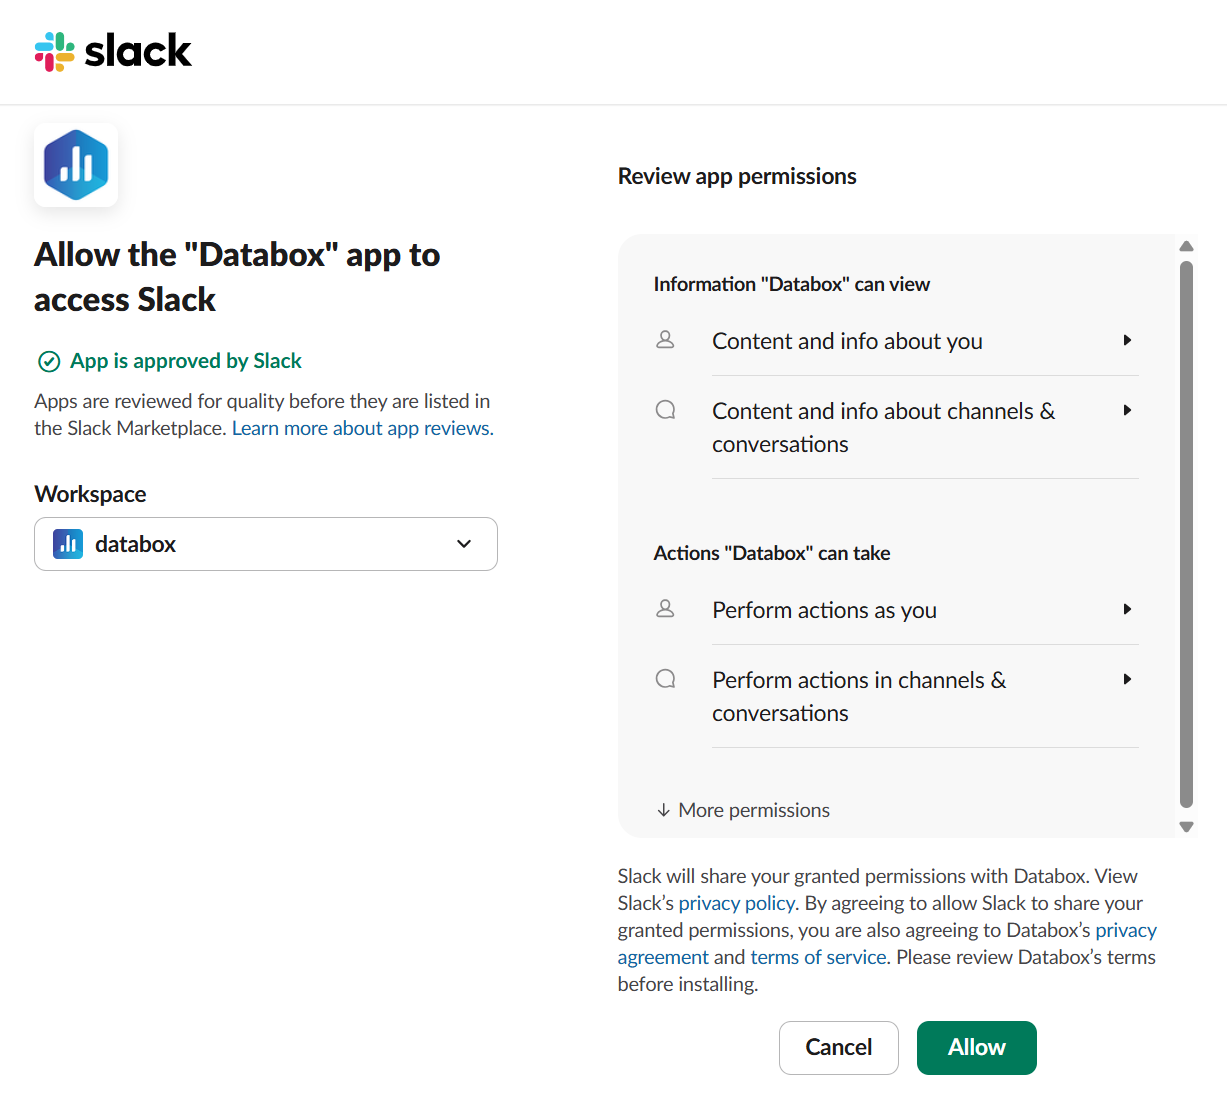
- Review the permissions requested by the Databox app, confirm the correct workspace is selected in the Workspace dropdown, and click Allow.
- You will receive a greeting message from the Databox app in your Slack workspace confirming the connection.
Once connected, your Slack workspace is available as a delivery destination across all supported notification types in your Databox account.
By default, Databox can only deliver to public channels. To enable delivery to a private channel:
- Open the private channel in Slack.
- Send
/invite @databoxin the channel.
The channel will appear as an available option the next time you configure Slack channels in a notification.
You can remove the Databox app from your Slack workspace via Slack Admin settings or the Slack App Directory.
Via Slack Admin settings:
- In Slack, navigate to Admin > Apps & workflows > Installed Apps.
- Find Databox in the installed apps list.
- Click the ... (more options) menu next to Databox and select Uninstall.
- Confirm the uninstall in the dialog that appears.
Via the Slack App Directory:
- Open the Databox app page in the Slack App Directory and go to the Settings tab.
- Scroll to the Remove App section and click Remove App.
FAQ
What happens to my notifications after removing Databox from Slack?
Notifications configured to deliver via Slack will no longer be sent after disconnecting. The notifications themselves are not deleted — only Slack delivery is interrupted. Reconnecting Slack and updating the channel selection for each notification will restore delivery.


