
Help Scout is a shared-inbox customer support platform that lets teams manage email conversations, collaborate internally, and respond to customers without exposing ticket numbers or internal tooling. Each mailbox functions as a dedicated support channel with its own assignments, workflows, and reporting. Connecting Help Scout Mailbox to Databox lets you track conversation volume, response times, and tag-based breakdowns alongside data from your other tools, so you can monitor support performance and spot trends without switching between platforms.
If your credentials don't include full access to the data source, make sure your access level meets any permission requirements listed in the Specification section of the integration's page in the Metric Library.
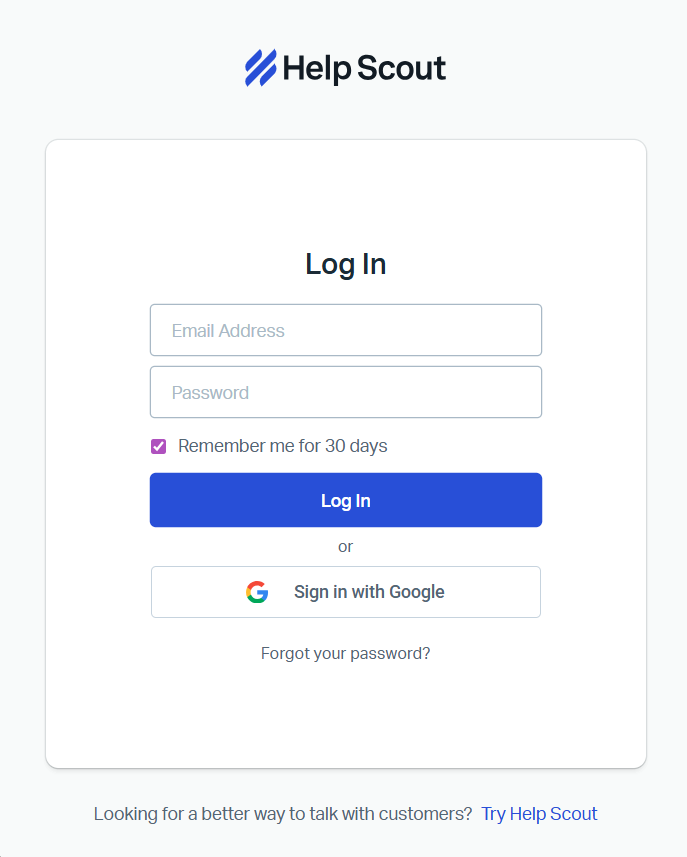
To connect Help Scout Mailbox to your Databox account for the first time, enter your Help Scout credentials in the Email and Password fields and click Log In, or click Sign in with Google.
If you've already established a connection, you can reuse it to add new accounts, as long as those accounts are accessible with the existing connection's credentials.
After signing in, select the mailbox you want to connect.
For comprehensive details on metrics, data availability, templates, specifications, usage guidelines, and other key information, refer to the resources listed below.


