
Availability
Freshdesk is cloud-based customer support software that centralizes inquiries across email, phone, chat, and social media. It offers features like ticket management, automation, and analytics to streamline workflows, improve team collaboration, and enhance customer satisfaction.
If your credentials don't include full access to the data source, make sure your access level meets any permission requirements listed in the Specification section of the integration's page in the Metric Library.
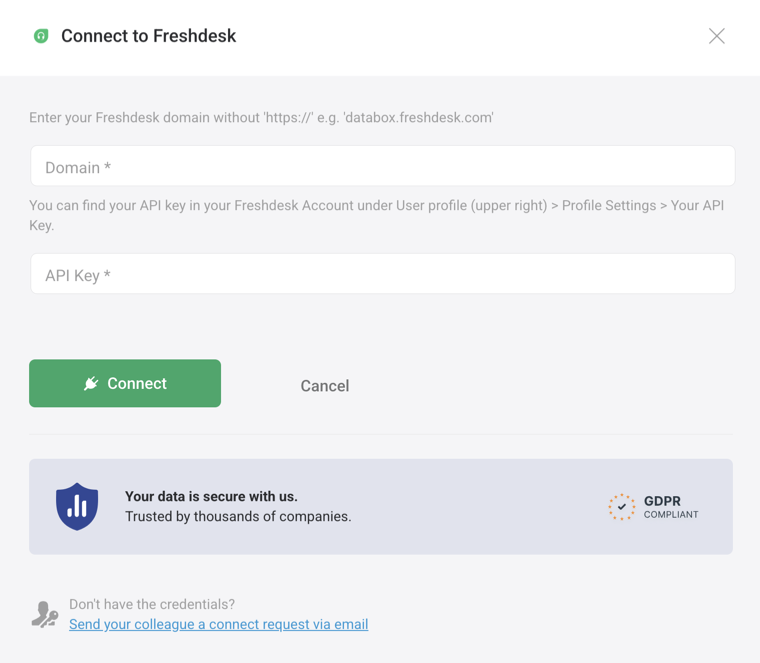
To connect Freshdesk to your Databox account for the first time or with new credentials:
- Enter your Freshdesk domain — This is the unique part of your Freshdesk URL. Use only the domain name without
http://orhttps://.- E.g.
databox.freshdesk.com
- E.g.
- Get your Freshdesk API key — In Freshdesk, click your profile picture in the top right corner, go to Profile Settings, then click View API Key to copy it.
- You can follow these detailed instructions from Freshdesk if needed.
The Freshdesk integration allows you to create custom metrics using the metric builder, ideal for visualizing data not included in the basic metrics offered by the integration.
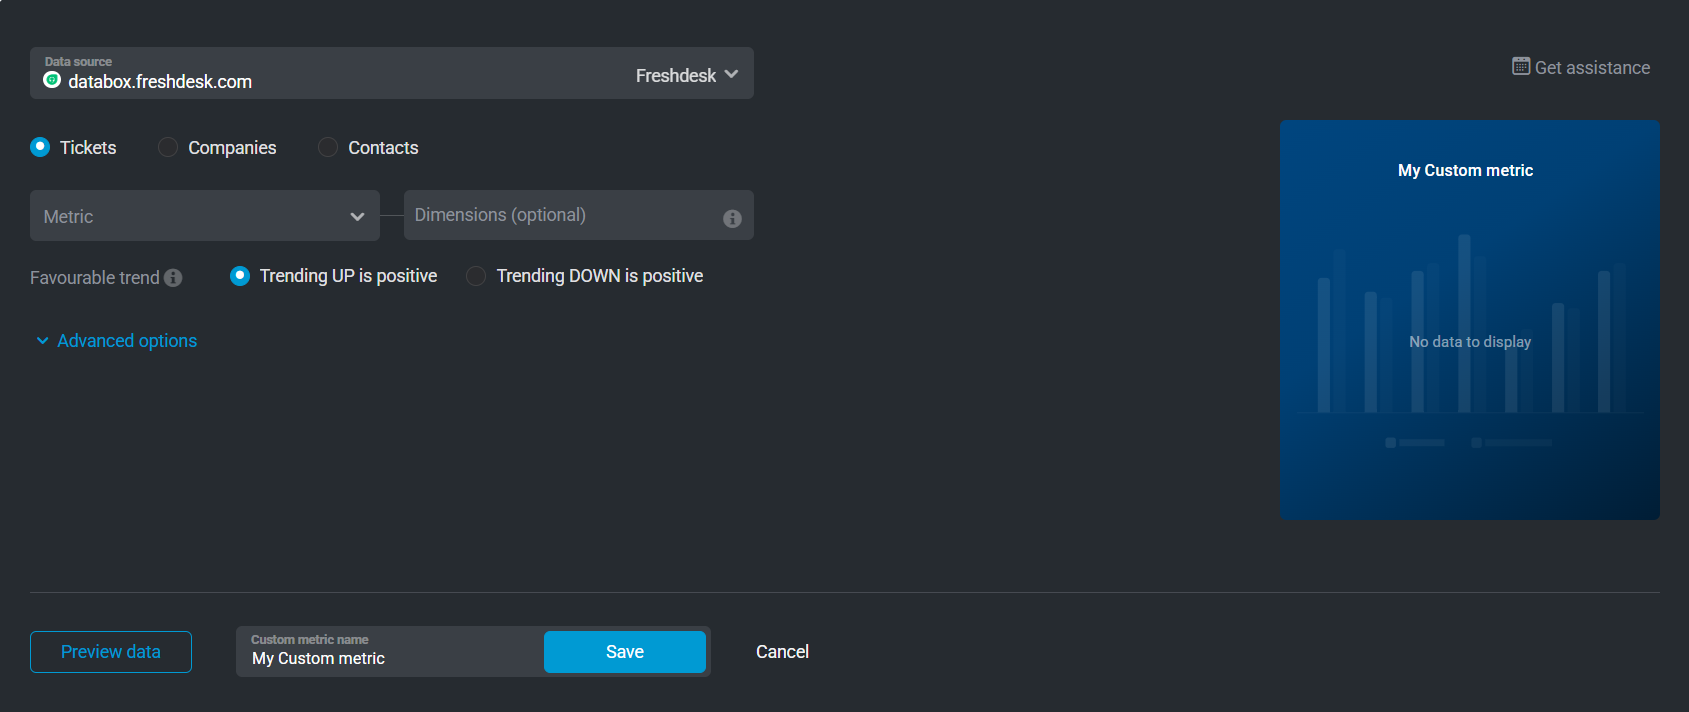
To create a custom metric, start by selecting a metric from the "Metric" selector. Next, customize your metric by optionally adding a dimension and applying one or more filters. The available options depend on the selected entity and data type (e.g., number, text, etc.).
The entities accessible for metric creation are listed below.
In Freshdesk, tickets are digital records of customer inquiries, issues, or requests that need resolution by the support team. When a customer contacts a company through email, chat, phone, social media, or a support portal, Freshdesk automatically converts that interaction into a ticket.
 In Freshdesk: Click Tickets in the sidebar.
In Freshdesk, a Company represents an organization associated with one or more contacts, allowing businesses to manage and track support requests from customers belonging to the same company. This is particularly useful in B2B scenarios where multiple individuals from a single organization may raise support tickets.
In Freshdesk: Click Companies in the sidebar.
In Freshdesk, a Contact represents an individual customer or end-user who interacts with the support team, usually by submitting support tickets. Each contact holds key personal and communication details such as name, email address, and phone number, which help agents identify and assist the customer efficiently. Contacts can also include additional attributes. They may be linked to a company, allowing for better organization in B2B scenarios.
In Freshdesk: Click Contacts in the sidebar.

The Freshdesk integration supports the creation of datasets, which allow you to structure and format your Freshdesk data for more flexible reporting in Databox. By organizing your data into a tabular format, datasets make it easier to filter, segment, and visualize key metrics across projects, clients, and team members.
The entity relationship diagram (ERD) below illustrates how data is organized within the Freshdesk integration, displaying the available views and columns, as well as the relationships between them (primary and foreign keys). This diagram represents the schema, or structure, of the data and helps you understand the underlying data model. With this context, you can create datasets using the relevant views and columns to build custom metrics tailored to your reporting needs.
For comprehensive details on metrics, data availability, templates, specifications, usage guidelines, and other key information, refer to the resources listed below.


FAQ
Does my Freshdesk plan support connecting to Databox?
Only Freshdesk plans with API access can be connected to Databox. Refer to this Freshdesk guide to learn whether API access is available on your plan.
Why are certain entities or properties unavailable in the metric builder?
The metric builder pulls raw and analytics data from Freshdesk's APIs. If an entity or property is missing, it is likely due to limited API support or technical implementation restrictions. If there's something you'd like to see included, feel free to submit a request, so we can consider it for future updates to the integration.


