
Availability
Mailchimp is an email and marketing automation platform used by businesses of all sizes to build and send email campaigns, manage subscriber lists, and automate marketing workflows. It provides detailed analytics on campaign engagement — including opens, clicks, bounces, and audience growth. Connecting Mailchimp to Databox lets you bring those metrics into shared Databoards alongside data from your other tools, making it easier to track the full impact of your email program without switching between platforms.
If your credentials don't include full access to the data source, make sure your access level meets any permission requirements listed in the Specification section of the integration's page in the Metric Library.
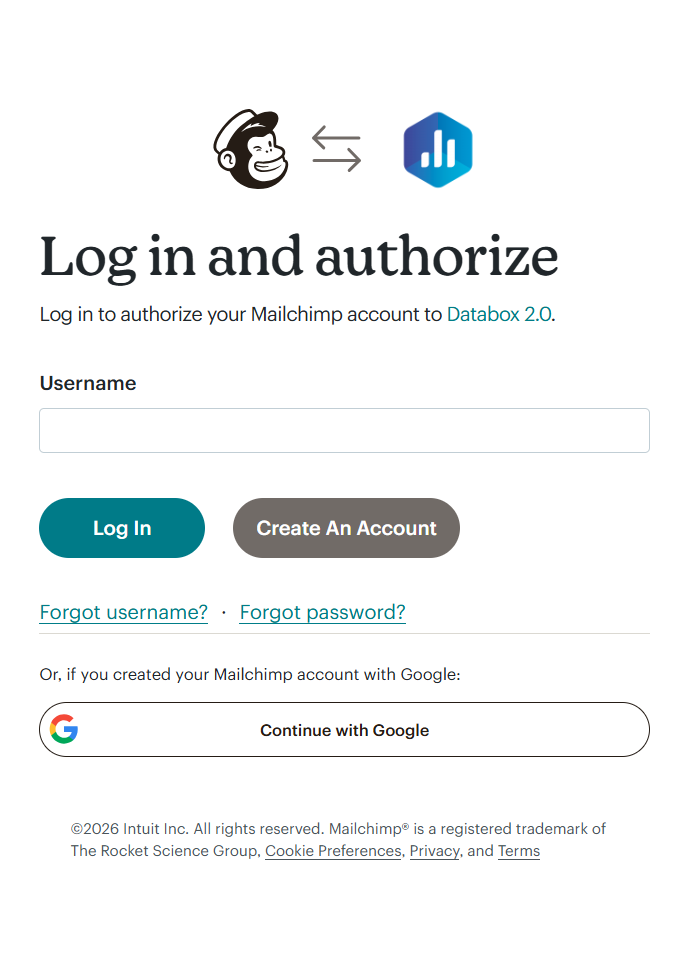
To connect Mailchimp to your Databox account for the first time, enter your Mailchimp Username and click Log In, or click Continue with Google if you created your Mailchimp account with Google.
When prompted, review the permissions Databox is requesting and click Allow to authorize the connection.

The Mailchimp integration supports the creation of datasets, which allow you to structure and format your Mailchimp data for more flexible reporting in Databox. By organizing your data into a tabular format, datasets make it easier to filter, segment, and visualize key metrics across projects, clients, and team members.
The entity relationship diagram (ERD) below illustrates how data is organized within the Mailchimp integration, displaying the available views and columns, as well as the relationships between them (primary and foreign keys). This diagram represents the schema, or structure, of the data and helps you understand the underlying data model. With this context, you can create datasets using the relevant views and columns to build custom metrics tailored to your reporting needs.
For comprehensive details on metrics, data availability, templates, specifications, usage guidelines, and other key information, refer to the resources listed below.


FAQ
Why can't I find a Mailchimp metric I was previously using?
Some metrics that previously appeared by name (e.g. "Open Rate by Campaigns") are now available as dimensions within a new placeholder metric (e.g. "By Campaign Metrics"). Select the new metric and then apply the corresponding dimension using the Breakdown by selector to find your data.
Why do campaign names include a timestamp in Databox?
Mailchimp doesn't require unique names for email campaigns, which can cause multiple campaigns to appear as one when syncing data. Databox appends a sent timestamp to each campaign name — in the format (mm/dd/yy hh:mm:ss) — to ensure each campaign is uniquely identifiable in your reports.


