
Bitbucket is a Git-based code hosting and collaboration platform from Atlassian, used by development teams to manage repositories, review code through pull requests, and track work with built-in issue tracking. Connecting Bitbucket to Databox brings your repository activity into dashboards alongside your other engineering and business metrics, so you can monitor development velocity, track open issues and pull request volume, and share progress reports with stakeholders in one place.
If your credentials don't include full access to the data source, make sure your access level meets any permission requirements listed in the Specification section of the integration's page in the Metric Library.
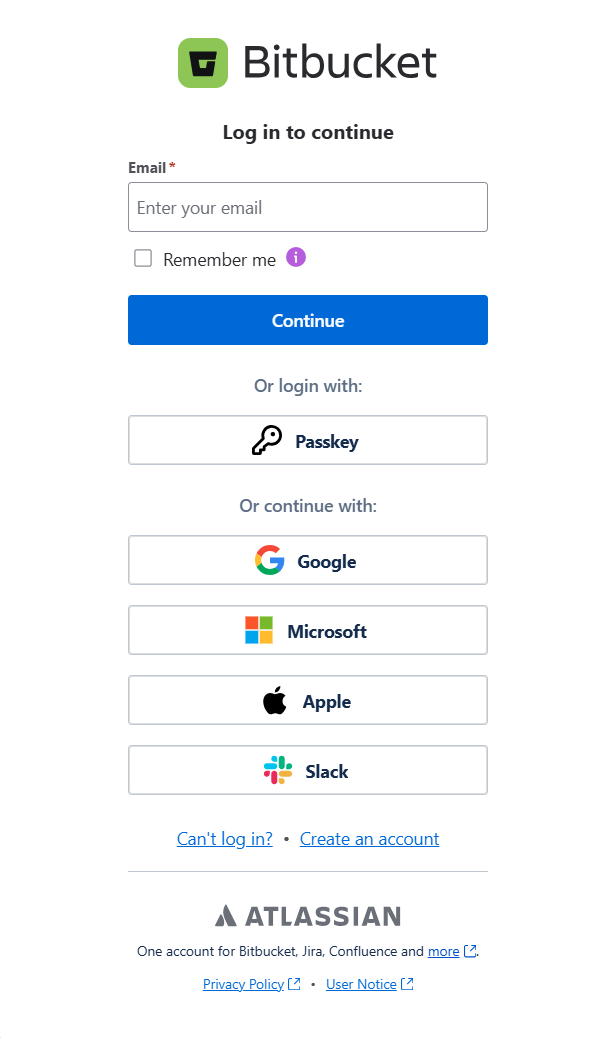
To connect Bitbucket to your Databox account for the first time or with new credentials, sign in with your Atlassian account. Enter your Email and click Continue, or sign in using a Passkey, Google, Microsoft, Apple, or Slack.
If you've already established a connection, you can reuse it to add new repositories, as long as those repositories are accessible with the existing connection's credentials.
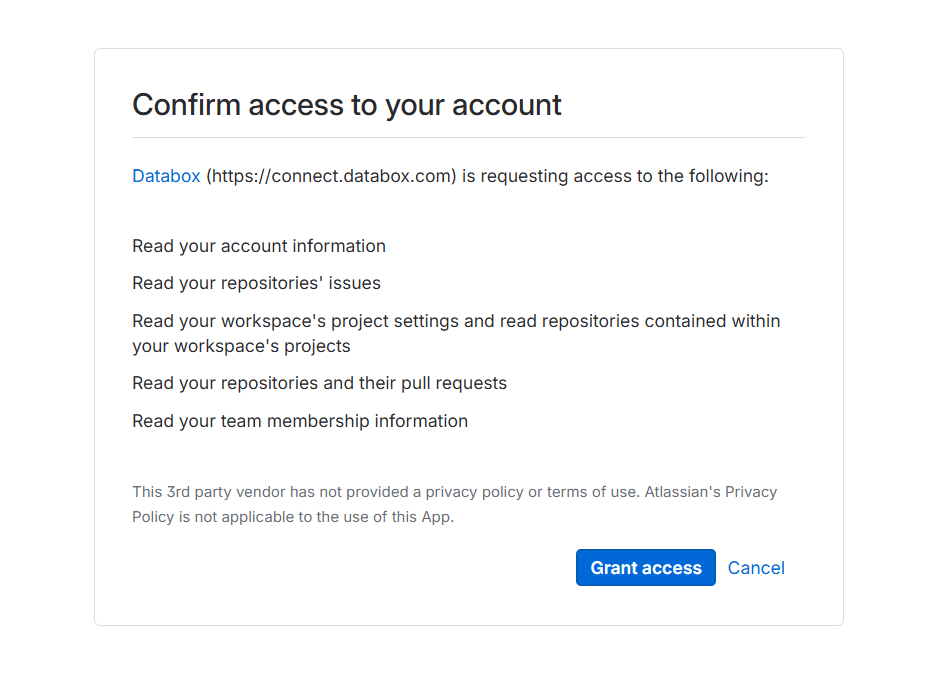
Review the requested permissions and click Grant access to authorize the connection.
After authorization, select the Bitbucket workspace you want to report on.
Select the repository within that workspace. Each repository is connected as a separate data source in Databox, so repeat the process to connect additional repositories.
For comprehensive details on metrics, data availability, templates, specifications, usage guidelines, and other key information, refer to the resources listed below.


FAQ
Does Databox make any changes to my Bitbucket repositories or code?
No. Databox requests read-only access to your Bitbucket data. No changes are made to your code, issues, pull requests, or repository settings. You can revoke access at any time from your Bitbucket account settings under Apps and features > Authorized applications.
Which repositories are accessible after connecting?
Databox can access the repositories that are visible to the Bitbucket account used to authorize the connection. The workspace and repository are selected during the connection flow, and each repository is set up as a separate data source in Databox.
Why does Databox need team membership information?
Databox requests team membership access as part of the workspace-level authorization scope. This allows Databox to identify which workspaces and workspace repositories the authenticated account belongs to, so the correct repositories can be listed during the connection flow.


