
Availability
Microsoft Advertising (formerly Bing Ads) is a digital advertising platform that lets businesses run search, display, shopping, and video ads across Bing, MSN, Outlook, and the Microsoft Audience Network. Connecting Microsoft Advertising to Databox brings your campaign data into a single reporting environment alongside your other channels, so you can track spend, impressions, clicks, and conversions and make data-driven decisions to improve performance.
If your credentials don't include full access to the data source, make sure your access level meets any permission requirements listed in the Specification section of the integration's page in the Metric Library.
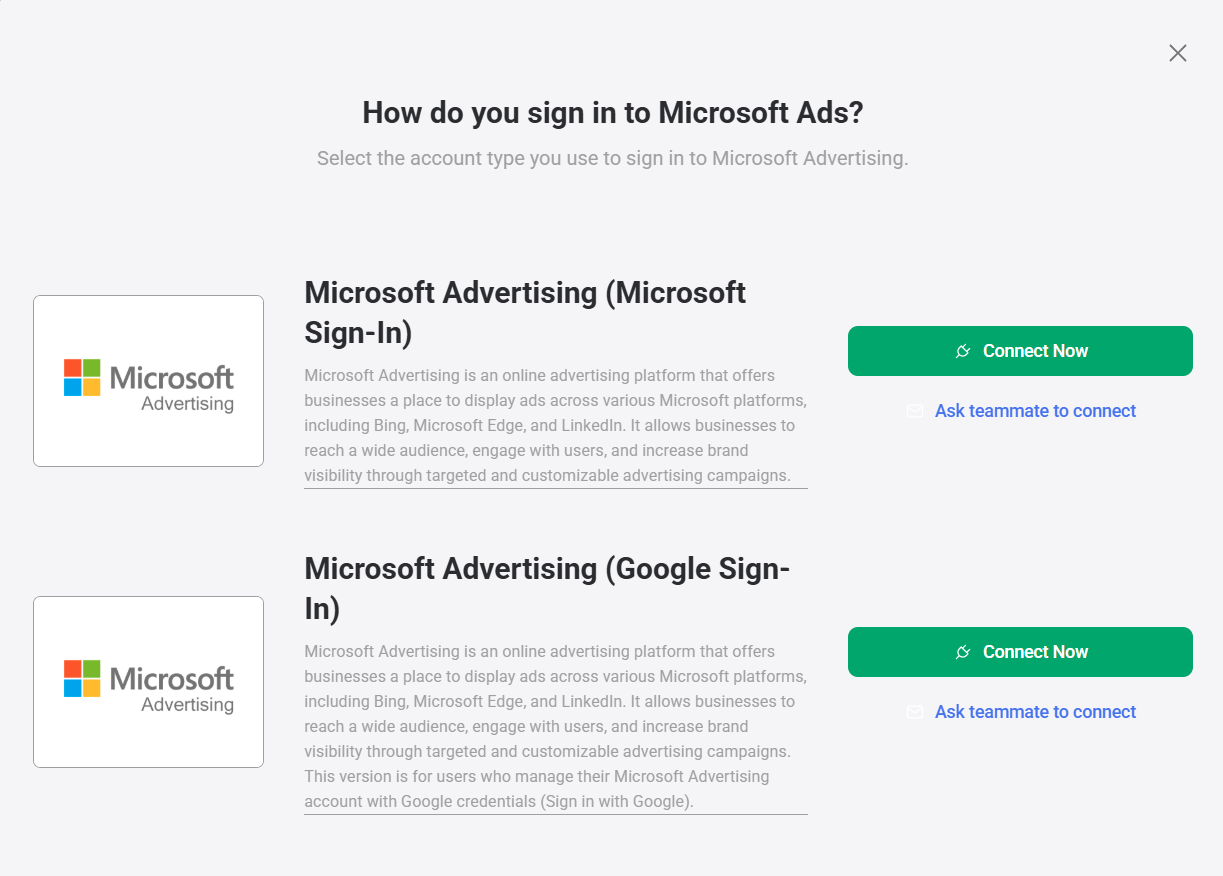
When adding Microsoft Advertising for the first time, you'll be asked how you sign in to Microsoft Ads. Select Microsoft Advertising (Microsoft Sign-In) if you use a Microsoft account, or Microsoft Advertising (Google Sign-In) if you manage your Microsoft Advertising account with Google credentials.
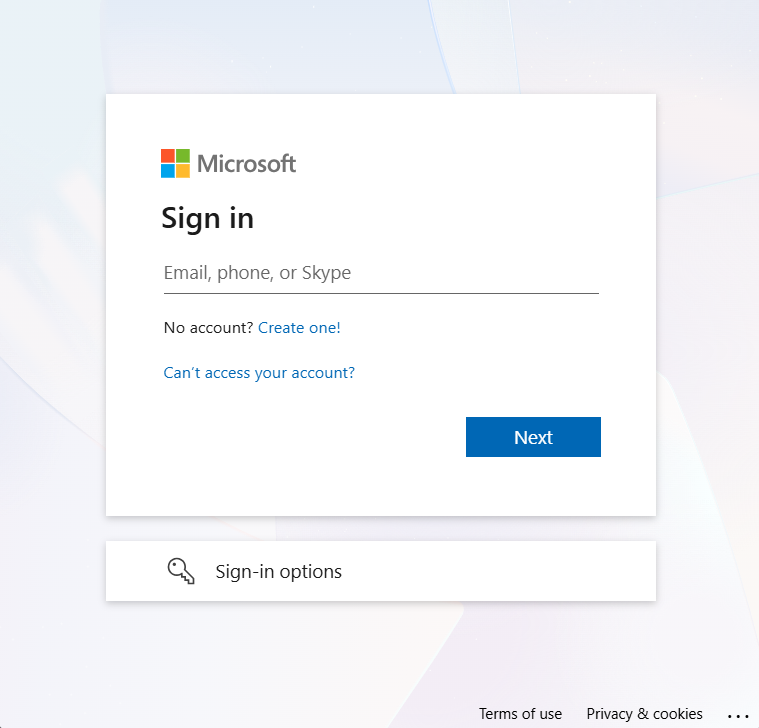
To connect Microsoft Advertising to your Databox account for the first time, sign in using your chosen credentials.
If you've already established a connection, you can reuse it to add new accounts, as long as those accounts are accessible with the existing connection's credentials.
Choose the Microsoft Advertising account you want to report on. If you manage multiple accounts, you'll be prompted to select the specific account you want to connect to Databox.
The Microsoft Advertising integration allows you to create custom metrics using the metric builder, ideal for visualizing data not included in the basic metrics offered by the integration.
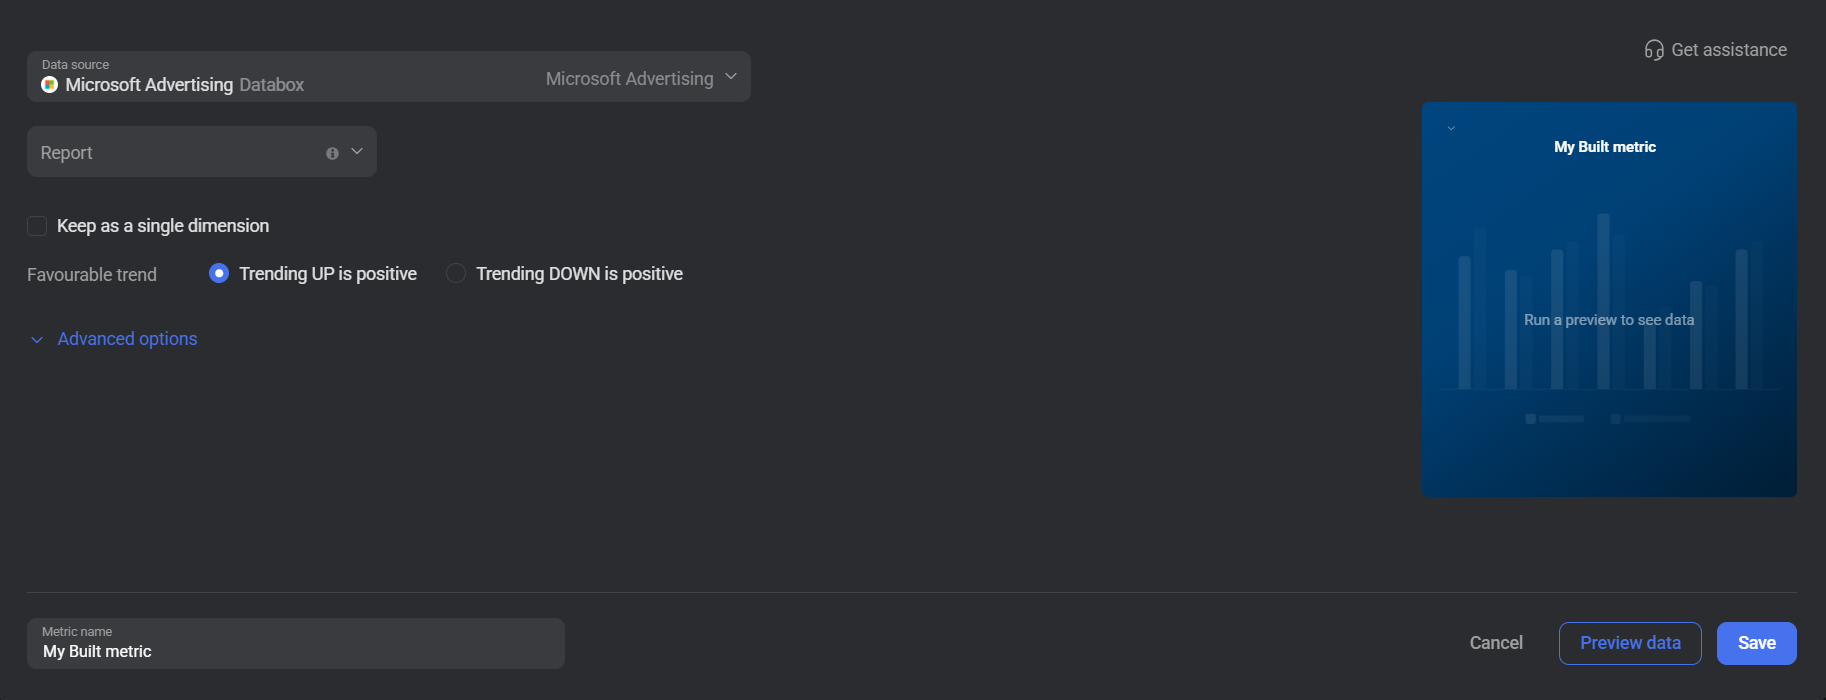
To create a custom metric, start by selecting a report type from the Report dropdown — this controls which metrics and dimensions become available. Next, select a metric from the Metric dropdown and optionally add one or more dimensions. The available options depend on the selected report type.
The report types available for custom metric creation are listed below.
Access aggregate performance data at the account level, including impressions, clicks, spend, and average position. Use this report type to get a top-level view of how your entire Microsoft Advertising account is performing over time.
 In Microsoft Advertising: Go to the Reports section and select the Account Performance report.
Analyze performance broken down by individual ad creative. Use this report type to compare how specific ad copy and formats are performing and identify which creatives drive the strongest engagement and conversion results.
In Microsoft Advertising: Go to the Reports section and select the Ad Performance report.
Track metrics at the ad group level to understand how each ad group contributes within its campaign. This report type helps you assess targeting efficiency and identify ad groups that need budget, bid, or creative adjustments.
In Microsoft Advertising: Go to the Reports section and select the Ad Group Performance report.
Evaluate performance across individual campaigns to understand how budget and delivery are distributed. Use this report type to compare campaign-level spend, reach, and conversion data and make data-driven budget decisions.
In Microsoft Advertising: Go to the Reports section and select the Campaign Performance report.
Track conversion events recorded by Microsoft Advertising, including goals and conversion counts. Use this report type to monitor how effectively your campaigns are driving defined conversion actions across the account.
In Microsoft Advertising: Go to the Reports section and select the Goals and Funnels report.
Analyze performance segmented by location to understand where your audiences are and how different regions respond to your ads. Use this report type to identify high-performing markets and refine your geographic targeting.
In Microsoft Advertising: Go to the Reports section and select the Geographic Performance report.
Review performance data for individual keywords, including impressions, clicks, quality score, and average CPC. This report type is essential for identifying high-value keywords and optimizing bids to improve search ad efficiency.
In Microsoft Advertising: Go to the Reports section and select the Keyword Performance report.
Access performance data segmented by professional attributes such as company name, job function, and seniority. This report type is particularly useful for B2B advertisers who want to understand which professional audiences are engaging with their ads.
In Microsoft Advertising: Go to the Reports section and select the Professional Demographics report.
See performance broken down by the physical location of users at the time of the search, rather than their targeted location. Use this report type to compare intended geographic targeting against actual user locations and refine your campaigns accordingly.
In Microsoft Advertising: Go to the Reports section and select the User Location Performance report.

The Microsoft Advertising integration supports the creation of datasets, which allow you to structure and format your Microsoft Advertising data for more flexible reporting in Databox. By organizing your data into a tabular format, datasets make it easier to filter, segment, and visualize key metrics across projects, clients, and team members.
The entity relationship diagram (ERD) below illustrates how data is organized within the Microsoft Advertising integration, displaying the available views and columns, as well as the relationships between them (primary and foreign keys). This diagram represents the schema, or structure, of the data and helps you understand the underlying data model. With this context, you can create datasets using the relevant views and columns to build custom metrics tailored to your reporting needs.
For comprehensive details on metrics, data availability, templates, specifications, usage guidelines, and other key information, refer to the resources listed below.


FAQ
Why are certain metrics or dimensions unavailable for a report type?
Available metrics and dimensions depend on the report type selected in the metric builder. Not all fields are exposed across all reports — if you need something that isn't available, you can submit a request using our Roadmap Request form.


