
Availability
Shopify is a powerful eCommerce platform that enables businesses to build online stores, manage products and inventory, process payments, and track customer orders — all from one place. Connecting Shopify with Databox allows you to monitor your store's performance in real time and make informed decisions based on key sales and customer data.
If your credentials don't include full access to the data source, make sure your access level meets any permission requirements listed in the Specification section of the integration's page in the Metric Library.
To connect Shopify to your Databox account:
- Go to Available Integrations.
- Locate Shopify in the list and click Connect
- You will be redirect to the Databox app page in the Shopify App Store, where you can initiate the connection.
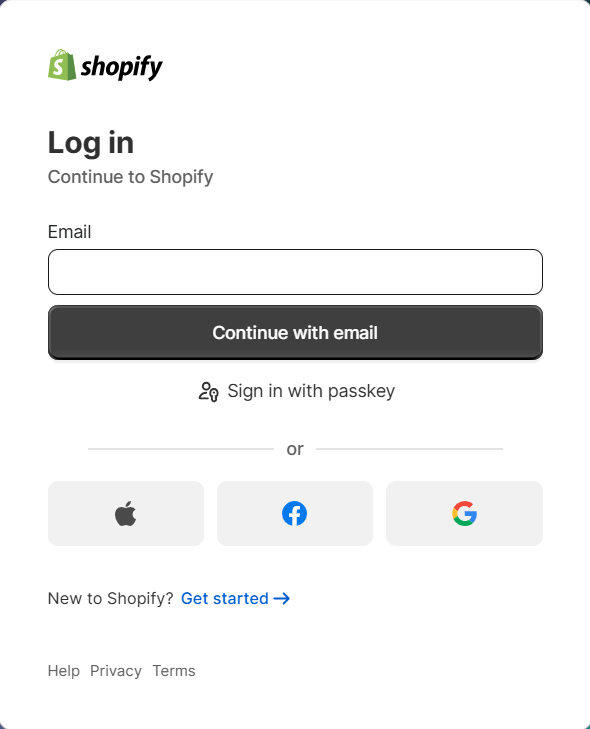
Click Install to authorize the connection to Databox. You can log in with your email, passkey, or your Apple, Google, or Meta account.
If you manage multiple stores, select the one you want to connect from list. If you have only one store, it will be selected automatically.

The Shopify integration supports the creation of datasets, which allow you to structure and format your Shopify data for more flexible reporting in Databox. By organizing your data into a tabular format, datasets make it easier to filter, segment, and visualize key metrics across projects, clients, and team members.
The entity relationship diagram (ERD) below illustrates how data is organized within the Shopify integration, displaying the available views and columns, as well as the relationships between them (primary and foreign keys). This diagram represents the schema, or structure, of the data and helps you understand the underlying data model. With this context, you can create datasets using the relevant views and columns to build custom metrics tailored to your reporting needs.
For comprehensive details on metrics, data availability, templates, specifications, usage guidelines, and other key information, refer to the resources listed below.


FAQ
Can I ask a colleague to connect Shopify on my behalf?
No. Unlike some other integrations, Shopify must be connected directly by a Databox user with access to the Shopify account. Remote connection by sending an invitation link via email is not supported.


