
Outreach is a sales engagement platform that helps revenue teams manage and automate prospecting workflows across email, phone, and other channels. It provides tools for building sequences, tracking prospect engagement, managing tasks, and monitoring pipeline activity, giving sales teams a centralized view of outreach performance and deal progression. Connecting Outreach to Databox lets you visualize sequences, calls, meetings, opportunities, and prospect data alongside your other business metrics, and build dashboards and reports to track sales activity and team performance over time.
If your credentials don't include full access to the data source, make sure your access level meets any permission requirements listed in the Specification section of the integration's page in the Metric Library.
If you've already established a connection, you can reuse it to add new accounts, as long as those accounts are accessible with the existing connection's credentials.
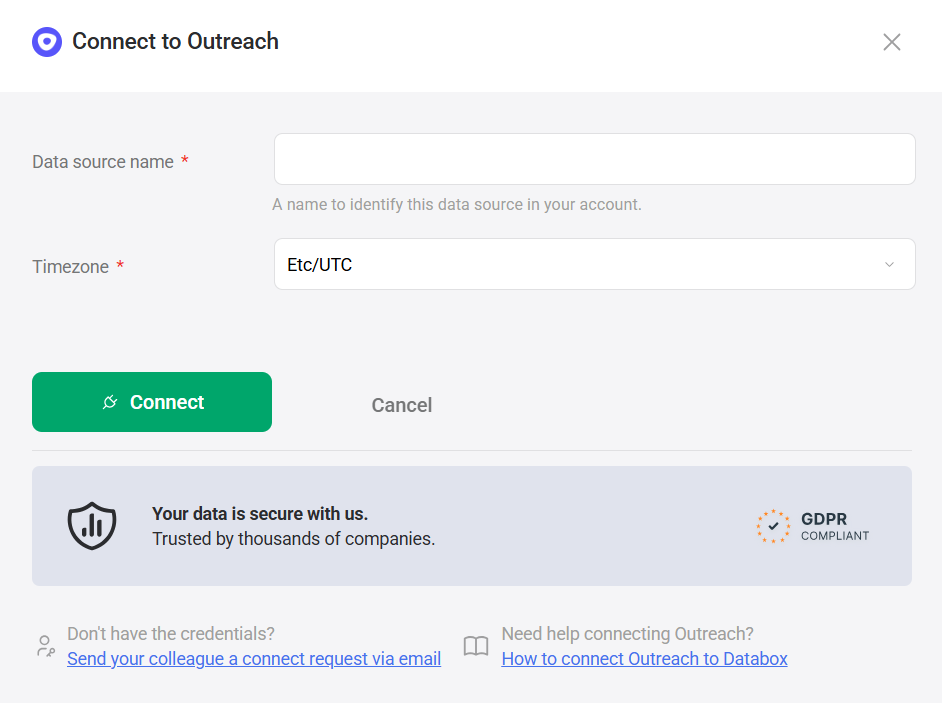
To connect Outreach to your Databox account for the first time or with new credentials:
- Enter a Data source name to identify this connection in your Databox account.
- Select a Timezone from the dropdown. This determines the sync schedule for your Outreach data source. The time zone defaults to Etc/UTC.
- Click Connect to proceed.
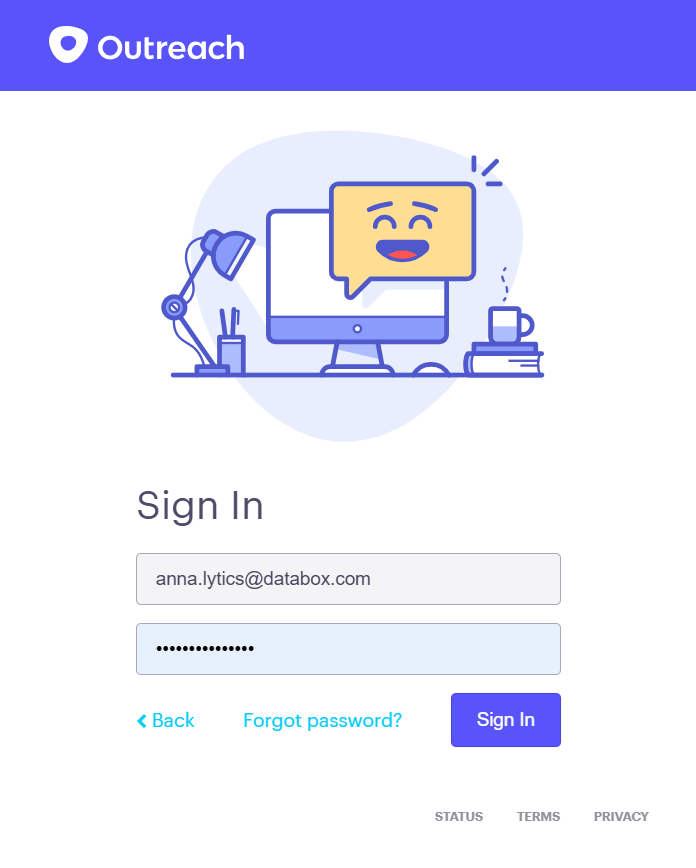
After clicking Connect, you are redirected to the Outreach sign-in page to authorize access.
- Enter your Email address and click Next.
- Enter your Password and click Sign In to complete the authorization.
After signing in, Outreach will ask you to select an App endpoint — this is the specific Outreach organization or account instance you want to connect. If your user has access to multiple Outreach organizations, each will appear as a separate endpoint. Select the one you want to pull data from and confirm the authorization to grant Databox access.
For comprehensive details on metrics, data availability, templates, specifications, usage guidelines, and other key information, refer to the resources listed below.


