IN THIS ARTICLE
- What is the Primary Date Range?
- What to consider when setting the Primary Date Range
- How to set the Primary Date Range
What is the Primary Date Range?
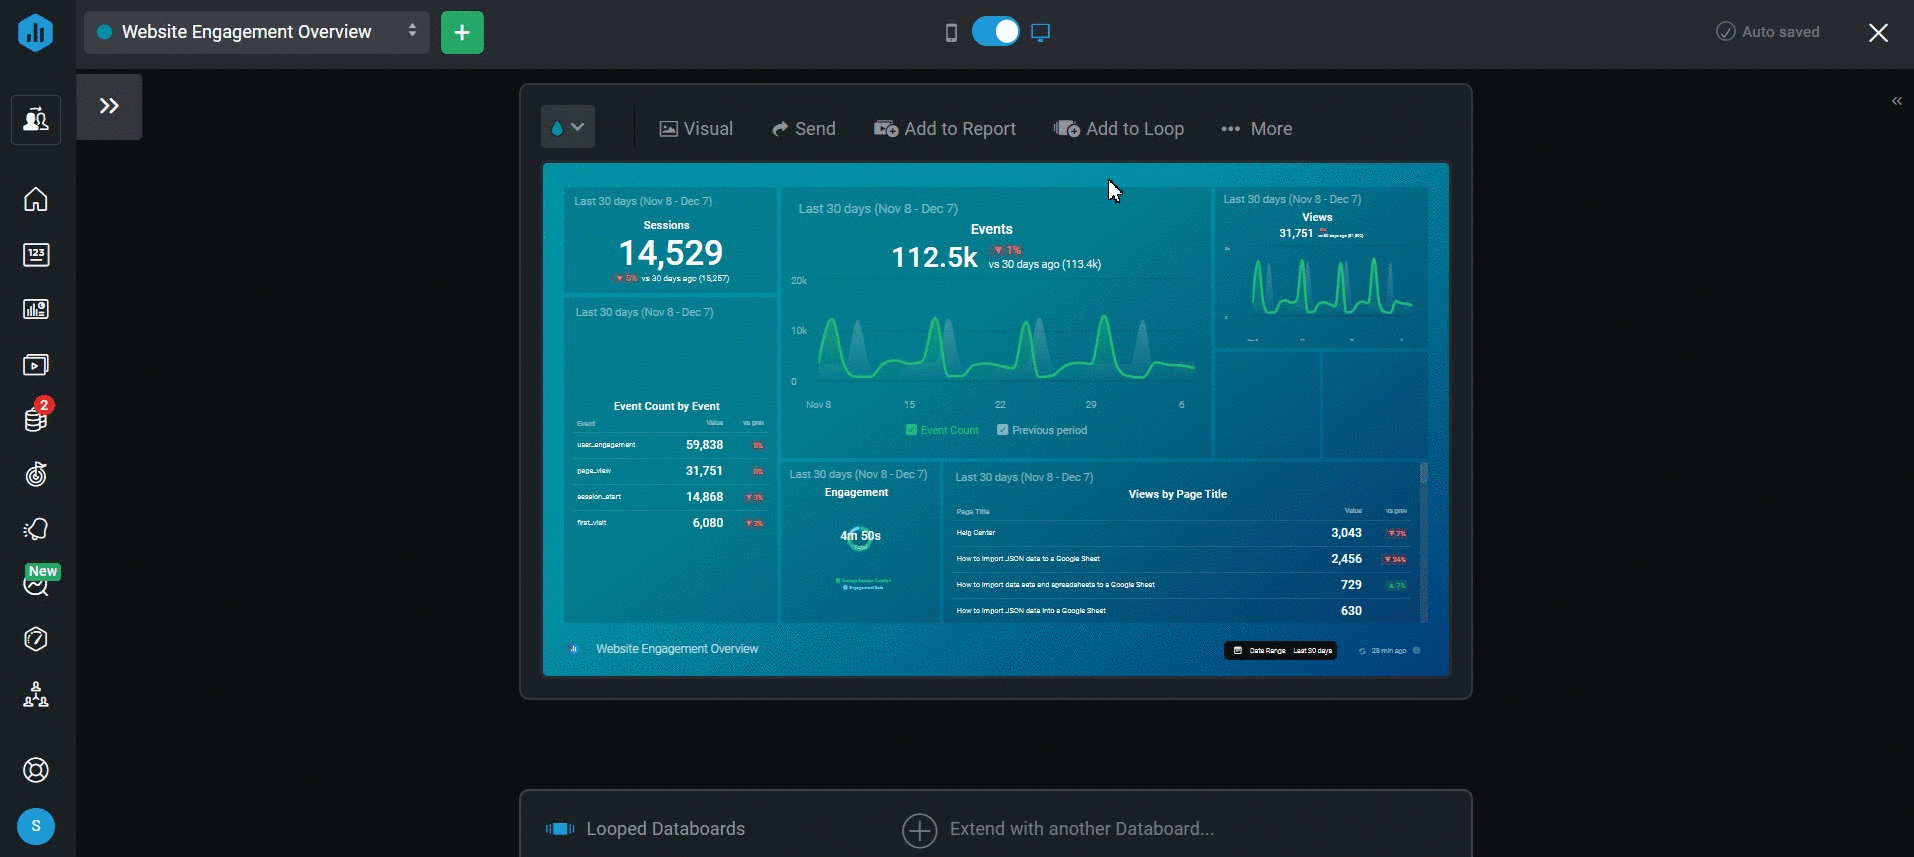
The Primary Date Range is the Date Range that a Datablock will load to when the Databoard is first opened. This is the Date Range that is selected in the Designer when building your Databoard.
Additional Date Ranges will be available while viewing your dashboard. This gives you the ability to analyze multiple periods and truly understand your performance.
What to consider when setting the Primary Date Range
In order to allow for easy analysis, it's imperative to pay attention to the Primary Date Range set on your Datablocks. It's recommended that the Primary Date Range is uniform throughout all Datablocks on the Databoard and, even better, is uniform throughout all Databoards in a Carousel. This will help to ensure you're creating streamlined, clean, and easy-to-interpret reports.
You'll also want to consider any Scheduled Snapshots that you plan to set for the Databoard as you set the Primary Date Range. Scheduled Snapshots are not dynamic, so you can't switch between Date Ranges on the Databoard. For that reason, it's important that the Primary Date Range works with the Scheduled Snapshot frequency to deliver the reports you want.
How to set the Primary Date Range
-
In the Designer, click on the Datablock that you want to set the Primary Date Range for. This will open the Datablock Editor
-
Click on the Date Range drop-down
-
Select the Date Range that you want to set as the Primary Date Range for the Datablock
Pro Tip: Additional Date Ranges will be available while viewing your Databoard.