HOW TO
- Use Looped Databoards
- Access Looped Databoards
- Set Looped Databoards
- Share Looped Databoards
- Favorite Looped Databoards
How to use Looped Databoards
Looped Databoards allow you to group multiple dashboards together in order to tell a more comprehensive story with your data. This means you're not limited to 1 dashboard when creating a presentation or digging into your data, you can loop multiple dashboards together to create a clean, organized, and in-depth presentation.
Don't be scared to spread your data across multiple dashboards - this makes it easier for your audience to digest the data and allows you to dig into it with different levels of detail at different times.

Once looped, you can easily share the set of dashboards both inside and outside of the Databox app. The Sharable Link will show all Looped Databoards when opened from the Looped Databoards page/ section, or from the first dashboard in the loop. You can also set Scheduled Snapshots for Looped Databoards and have the entire loop exported as JPGs/ a PDF at regularly scheduled times.
Pro Tip: For additional information about the value of Looped Databoards in your business, learn more here.
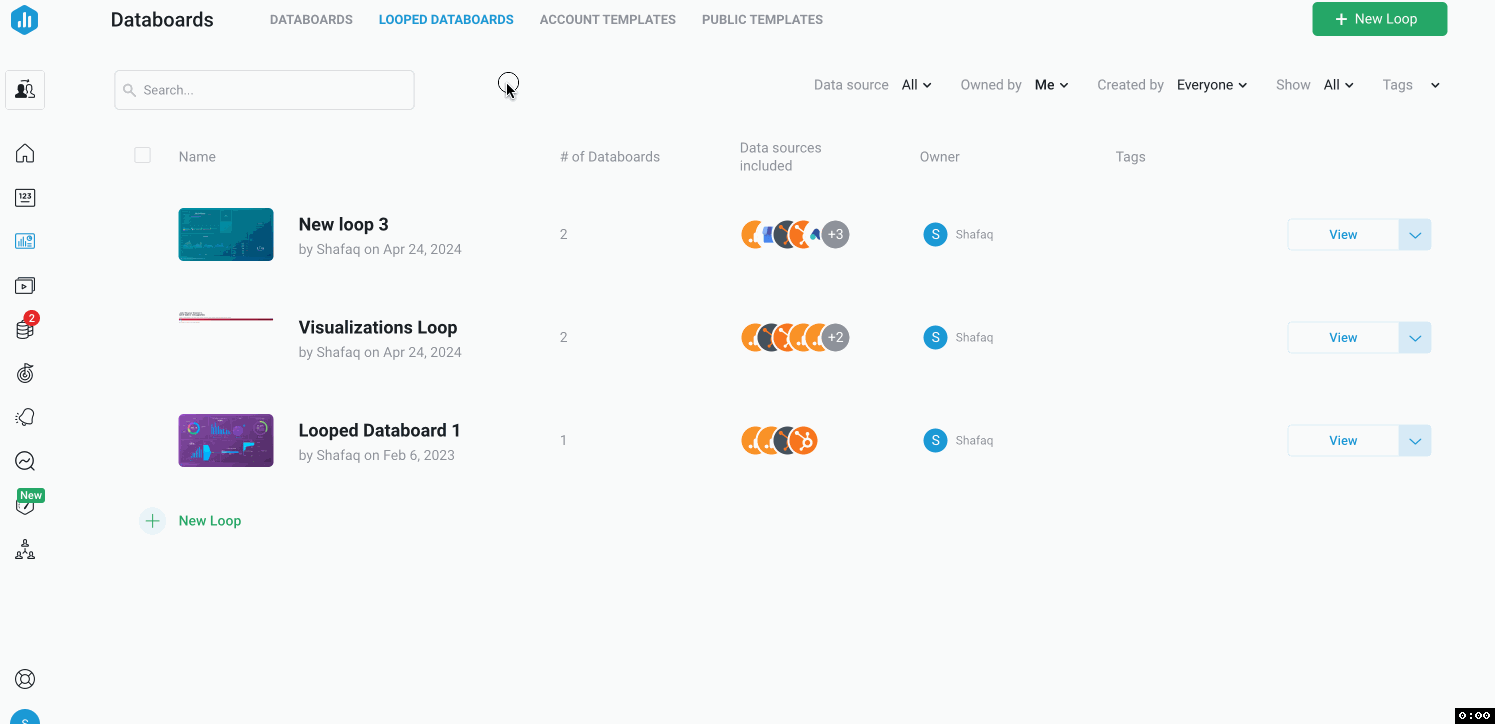
How to access Looped Databoards

Navigate to Databoards > Looped Databoards to access all Looped Databoards that you have access to.
When viewing Looped Databoards, you can switch from 1 dashboard to another by clicking on the circles at the bottom of the dashboard.
From the Looped Databoards page you Edit the Loop, Share the Loop (via Sharable Link, Scheduled Snapshots, Embedding on a webpage, or Streaming to TV), Open the Databoards included in the Loop in the Designer, or Duplicate the Loop.
How to set Looped Databoards
You can loop dashboards together from multiple places in the Databox app, including the Looped Databoards page, the Databoards page, and the Designer.
The Looped Databoard functionality supports looping Databoards together from within the same Account. If you want to loop Databoards together from multiple Client Accounts, you will need to use a workaround rather than the Looped Databoard functionality directly.
Pro Tip: You can add up to 20 Databoards to a Databoard Loop.
HOW TO LOOP DATABOARDS
- From the Looped Databoards page
- From the Databoards page
- From the Designer
- From multiple Client Accounts
How to loop together Databoards from the Looped Databoards page

- Navigate to Databoards > Looped Databoards.
Click + New Loop. - Select the Databoards you'd like to add to the Loop. You can add any Databoards from your Account that you have access to.
-
Click Select when all dashboards you'd like to add to the Loop are selected.
- Databoards > Looped Databoards.+ New Loop. Select the Databoards you'd like to add to the Loop. You can add any Databoards from your Account that you have access to. Select
- Pro Tip: You can change the order of the Databoards by clicking on the icon to the left of the Databoard title and dragging it to the appropriate position.
-
Set the Name and Owner for the Loop.
-
Click Save. The Databoard Loop is now created.
- Pro Tip: You can View the Loop, Edit the Loop, Share the Loop ( as Sharable Link, via email, to Slack, Embedding on a webpage, Streaming to TV, or Scheduled Snapshot), open the Databoards included in the Loop in the Designer, or Duplicate the Loop from the Looped Databoards page.
How to loop together Databoards from the Databoards page
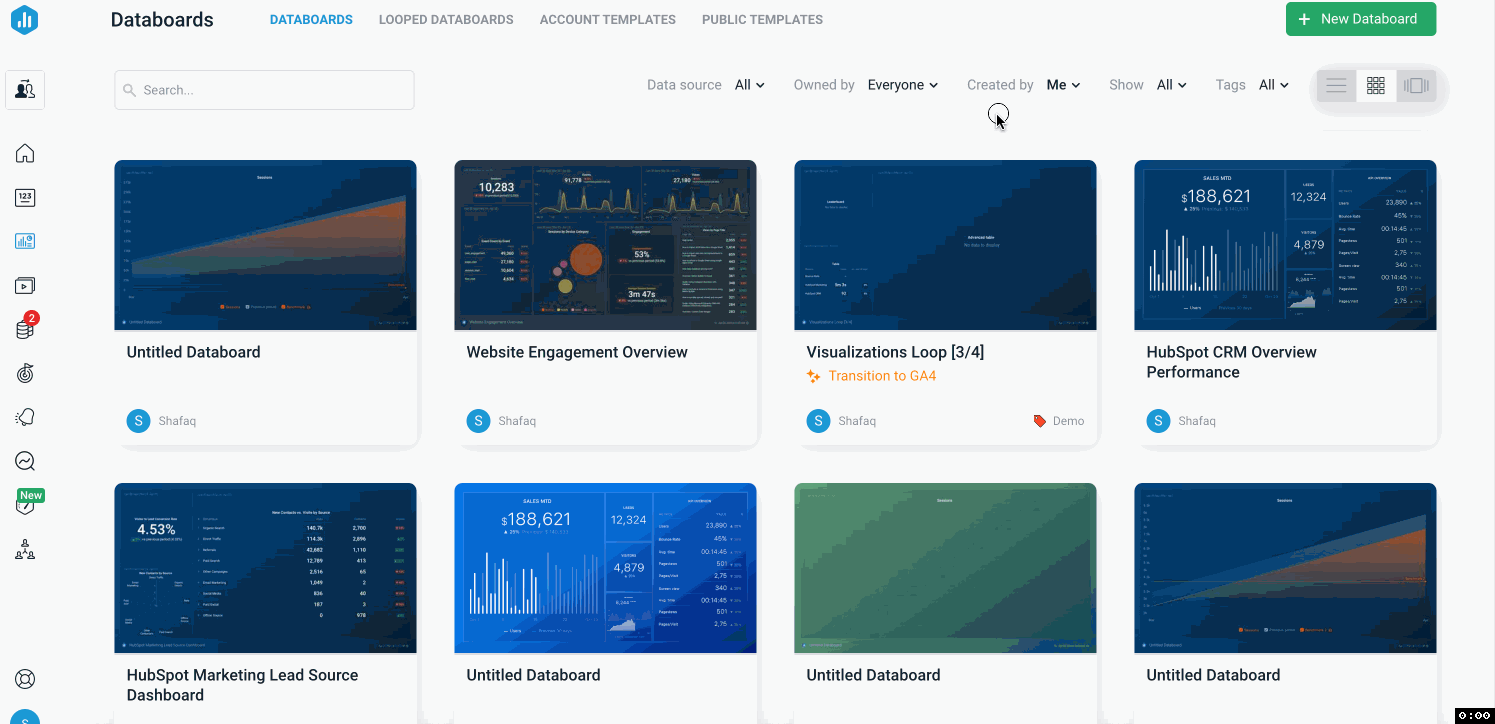
- Navigate to the Databoards page.
-
Hover over the Databoards and select them
-
Click + Add to Loop to loop together. You can add any Databoards from your Account that you have access to.
-
You can select an existing Looped Databoard to add the Databoards to from the drop-down menu or click on + Create New Loop
- Pro Tip: You can change the order of the Databoards by clicking on the icon to the left of the Databoard title and dragging it to the appropriate position.
-
Set the Name and Owner for the Loop.
-
Click Save. The Databoard Loop is now created. You can view it from the Looped Databoards page.
- Pro Tip: You can View the Loop, Edit the Loop, Share the Loop (as Sharable Link, via email, to Slack, Embedding on a webpage, Streaming to TV, or Schedule Snapshots), open the Databoards included in the Loop in the Designer, or Duplicate the Loop from the Looped Databoards page.
- Pro Tip: You can View the Loop, Edit the Loop, Share the Loop (as Sharable Link, via email, to Slack, Embedding on a webpage, Streaming to TV, or Schedule Snapshots), open the Databoards included in the Loop in the Designer, or Duplicate the Loop from the Looped Databoards page.
How to loop together Databoards from the Designer
If the Databoard you're viewing in the Designer is already part of a Databoard Loop (or multiple Loops), you'll see this in the bottom panel of the Designer. In this case, you cannot create a new Databoard Loop from the Designer and would need to do so from the Looped Databoards page or the Databoards page.

- Open one of the Databoards you'd like to include in the loop in the Designer.
- In the Looped Databoards panel at the bottom of the Designer, select + Extend with another Databoard
- If you'd like to create a loop using Databoards that are already built in your Account, select Link with existing Databoard. If you'd like to create a new Databoard to add to the loop, select Create new Dataaboard.
We'll select Link with existing Databoard for this example. - Select the Databoards you'd like to add to the Loop. You can add any Databoards from your Account that you have access to.
- Click Select when all dashboards you'd like to add to the Loop are selected. The Databoard Loop is now created.
-
Click Edit loop to change the order of the Databoards, set a Name for the Databoard Loop, and set an Owner for the Databoard Loop.
- Pro Tip: You can change the order of the Databoards by clicking on the icon to the left of the Databoard title and dragging it to the appropriate position.
-
Set the Name and Owner for the Loop.
-
Click Save. The Databoard Loop is now created.
- Pro Tip: You can View the Loop, Edit the Loop, Share the Loop (as Sharable Link, via email, to Slack, Embedding on a webpage, Streaming to TV, or Schedule Snapshots), open the Databoards included in the Loop in the Designer, or Duplicate the Loop from the Looped Databoards page.
- Pro Tip: You can View the Loop, Edit the Loop, Share the Loop (as Sharable Link, via email, to Slack, Embedding on a webpage, Streaming to TV, or Schedule Snapshots), open the Databoards included in the Loop in the Designer, or Duplicate the Loop from the Looped Databoards page.
How to loop together Databoards from multiple Client Accounts
Using Looped Databoards, you can loop together Databoards from the same Databox Account. Below we'll walk through a way to loop together Databoards from different Databox Accounts.
Agencies often use this strategy to create Databoard loops for different members of their team. For example, if Jim works with 6 Clients and focuses on SEO, he can loop together SEO Databoards from all 6 Client Accounts to produce a valuable view across Clients.

This Chrome Plugin will load all added pages in the specified order and refresh the page after a set amount of time passes. No Data or Databoards are transfered across the Accounts.
-
Install the Chrome Plugin URL Slideshow.
-
Open all the Shareable Links you want to loop together in your browser.
-
Start with the first Databoard you want to add to the loop. Right-click the URL Slideshow icon and click Add this page.
-
Repeat step #3 for all Shareable Links you want to add to the loop.
-
Right-click the URL Slideshow icon and click Options.
-
Here, you can set the Default URL Showing Time, select Start on browser start and/ or Full-screen viewing options, and update any URLs in the loop.
-
Click the URL Slideshow icon to start the loop. Click the URL Slideshow icon again to stop the loop.
Only Agency Accounts have access to Client Accounts. Learn more about how to become a Databox Agency Partner here
How to share Looped Databoards
From the Looped Databoards page, you can:
- View the Loop: view the Looped Databoards in your Databox Account. Flip through dashboards by clicking the circle icons at the bottom of the dashboards.
- Edit the Loop: adjust the Databoards included in the Loop, the order of the dashboards, the name of the Loop, the Owner of the Loop, etc.
- Share the Loop: open the Share window to access the Sharable Link, send the Loop via email, send the loop to Slack, embed the Loop on a webpage, or stream the Loop to a TV.
- Open the Databoards included in the Loop in the Designer: edit the setup of the Databoards included in the Loop in the Designer.
- Duplicate the Loop: get a head start on your next Loop by duplicating an existing Loop.
How to favorite Looped Databoards
- Navigate to the Databoards > Looped Databoards page
- Hover over the Looped Databoards you want to favourite and select them.
- Click on Favorite on the top right-hand side of the page.