Guide: Using Microsoft Azure with Databox
HOW TO
- Prepare your Microsoft Azure Database
- Connect Microsoft Azure to Databox
- How to use the Metric Builder for Microsoft Azure
- Additional Information
Microsoft Azure connections are available on the Professional and higher plans. Request a free trial of Microsoft Azure by following these steps
How to prepare your Microsoft Azure Database
1. To prepare our Microsoft Azure database, we'll login to the Microsoft Azure portal ( https://portal.azure.com/) and navigate to the SQL databases tab


For further security and configuration considerations, please consult the official Microsoft Azure SQL Database documentation.
How to connect Microsoft Azure to Databox
Once our Database is properly prepared, we'll connect it to Databox.

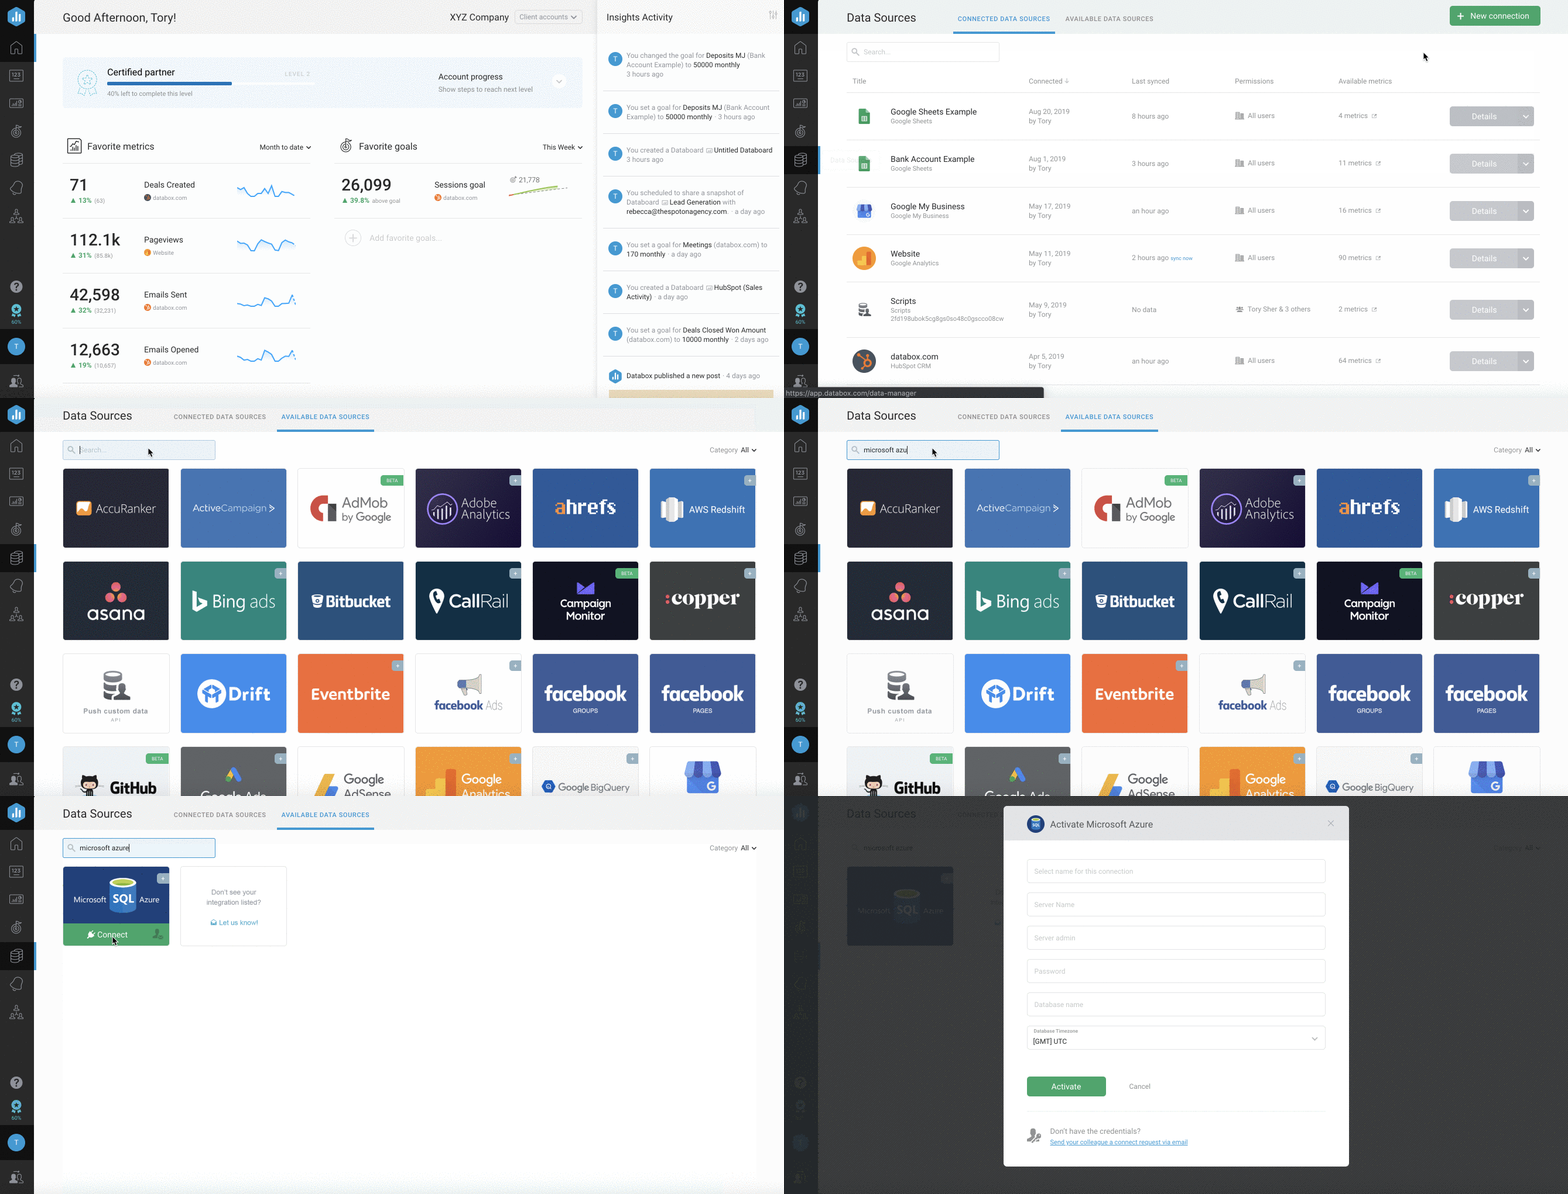
To connect Microsoft Azure to Databox, go to Data Sources > + New connection. Type Microsoft Azure in the search bar and click on the green Connect button.
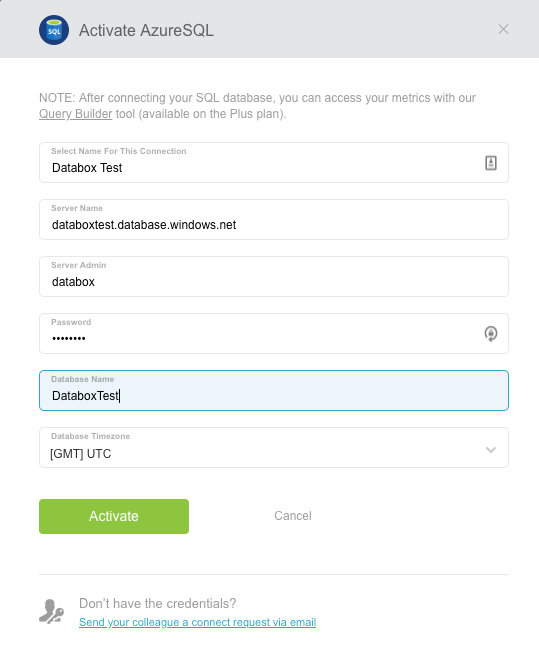
This will open the Activation window, which is where you will be prompted to enter your connection data and authorize the Databox app.

Click the green Activate button to complete the connection process. If Microsoft Azure was successfully connected, the Activation window will close shortly and you'll see a Connected notice.
If you see a notice that says Wrong Credentials, doublecheck your user data before re-entering them in the Activation window.
If the Activation window doesn't close for over a minute, there may be difficulty connecting to your server due to firewall issues. If you have difficulty connecting, be sure access is granted to Databox's public IP (52.4.198.118).
Pro Tip: A connection error can occur if you use some special characters in your Microsoft Azure password. Learn more here
How to use the Metric Builder for Microsoft Azure
The Metric Builder for Microsoft Azure allows you to create Custom Metrics using data from your Database to use in Databoards, Alerts, Goals, etc. Learn more about the Metric Builder for Microsoft Azure here.
Additional Information
- Make sure your Firewall is open to Databox's public IP and your Port is correctly forwarded to the server
- Query results are limited to 10 MB. If more than 10 MB of data is returned in a response to a query, an error message will be displayed in Databox. Please edit your query to successfully sync the data.
- The query must contain a column named "Date." If you need to, use AS in your SELECT statement to satisfy this requirement
- One column should always contain the Metric Value
- "Null" values will not be recognized. Use a COALESCE function when needed. Learn more here.
- A connection error can occur if you use some special characters in your Microsoft Azure password. We advise you to not use special characters from the list below, as it may cause encoding issues during the connection of the data source. Please check if the following are included in your Microsoft Azure password and replace them with other characters:
- , ' " / \ and spaces"