
Using Client Performance Overviews, you can view all of your Client's top Metrics and Goals in one place. This helps eliminate the work required for internal review of client performance and goal achievement.
Navigate to Clients > Metric Performance Overview or Clients > Goal Overview to access Client Performance Overviews. On these pages, you can use Tags and Account Managers to better organize your Client Accounts and create the optimal views for you.
- Click on the Column Header to open the Setup Client Metric window.
- Select a Data Source from the Data Source drop-down list. As a best practice, this Data Source should be connected in the majority of your Client Accounts
- Select a Metric from the Metric drop-down list. This should be a Metric that is significant in the majority of your Client Accounts
- Select a Primary Date Range from the Primary Date Range drop-down list. This should be the most significant Date Range for you to view your Clients data, but it can be switched in real time as well.
- Click the green Save button. The individual cells in the column will populate with Client data as long as the Data Source is connected in the corresponding Client Account. If you have multiple Accounts of the same Data Source connected in a Client Account, you'll be prompted to select the specific Account that you want to populate the cell.
- To switch between Date Ranges, click on the selected Date Range in the Column Header and select the new Date Range.
- Click on the ... icon in the top right of the cell to open the Setup Client Metric window.
- Select a Data Source from the Data Source drop-down list. Only Data Sources that are connected in the corresponding Client Account will be available in this list.
- Select a Metric from the Metric drop-down list. You have the ability to choose Basic, Custom and Calculated Metrics that exist in the Client Account.
- Select a Primary Date Range from the Primary Date Range drop-down list. This should be the most significant Date Range for you to view the Client's data, but it can be switched in real time as well.
- Click the green Save button. The individual cell will populate with the appropriate Client data. If you have multiple Accounts of the same Data Source connected in a Client Account, you'll be prompted to select the specific Account that you want to populate the cell.
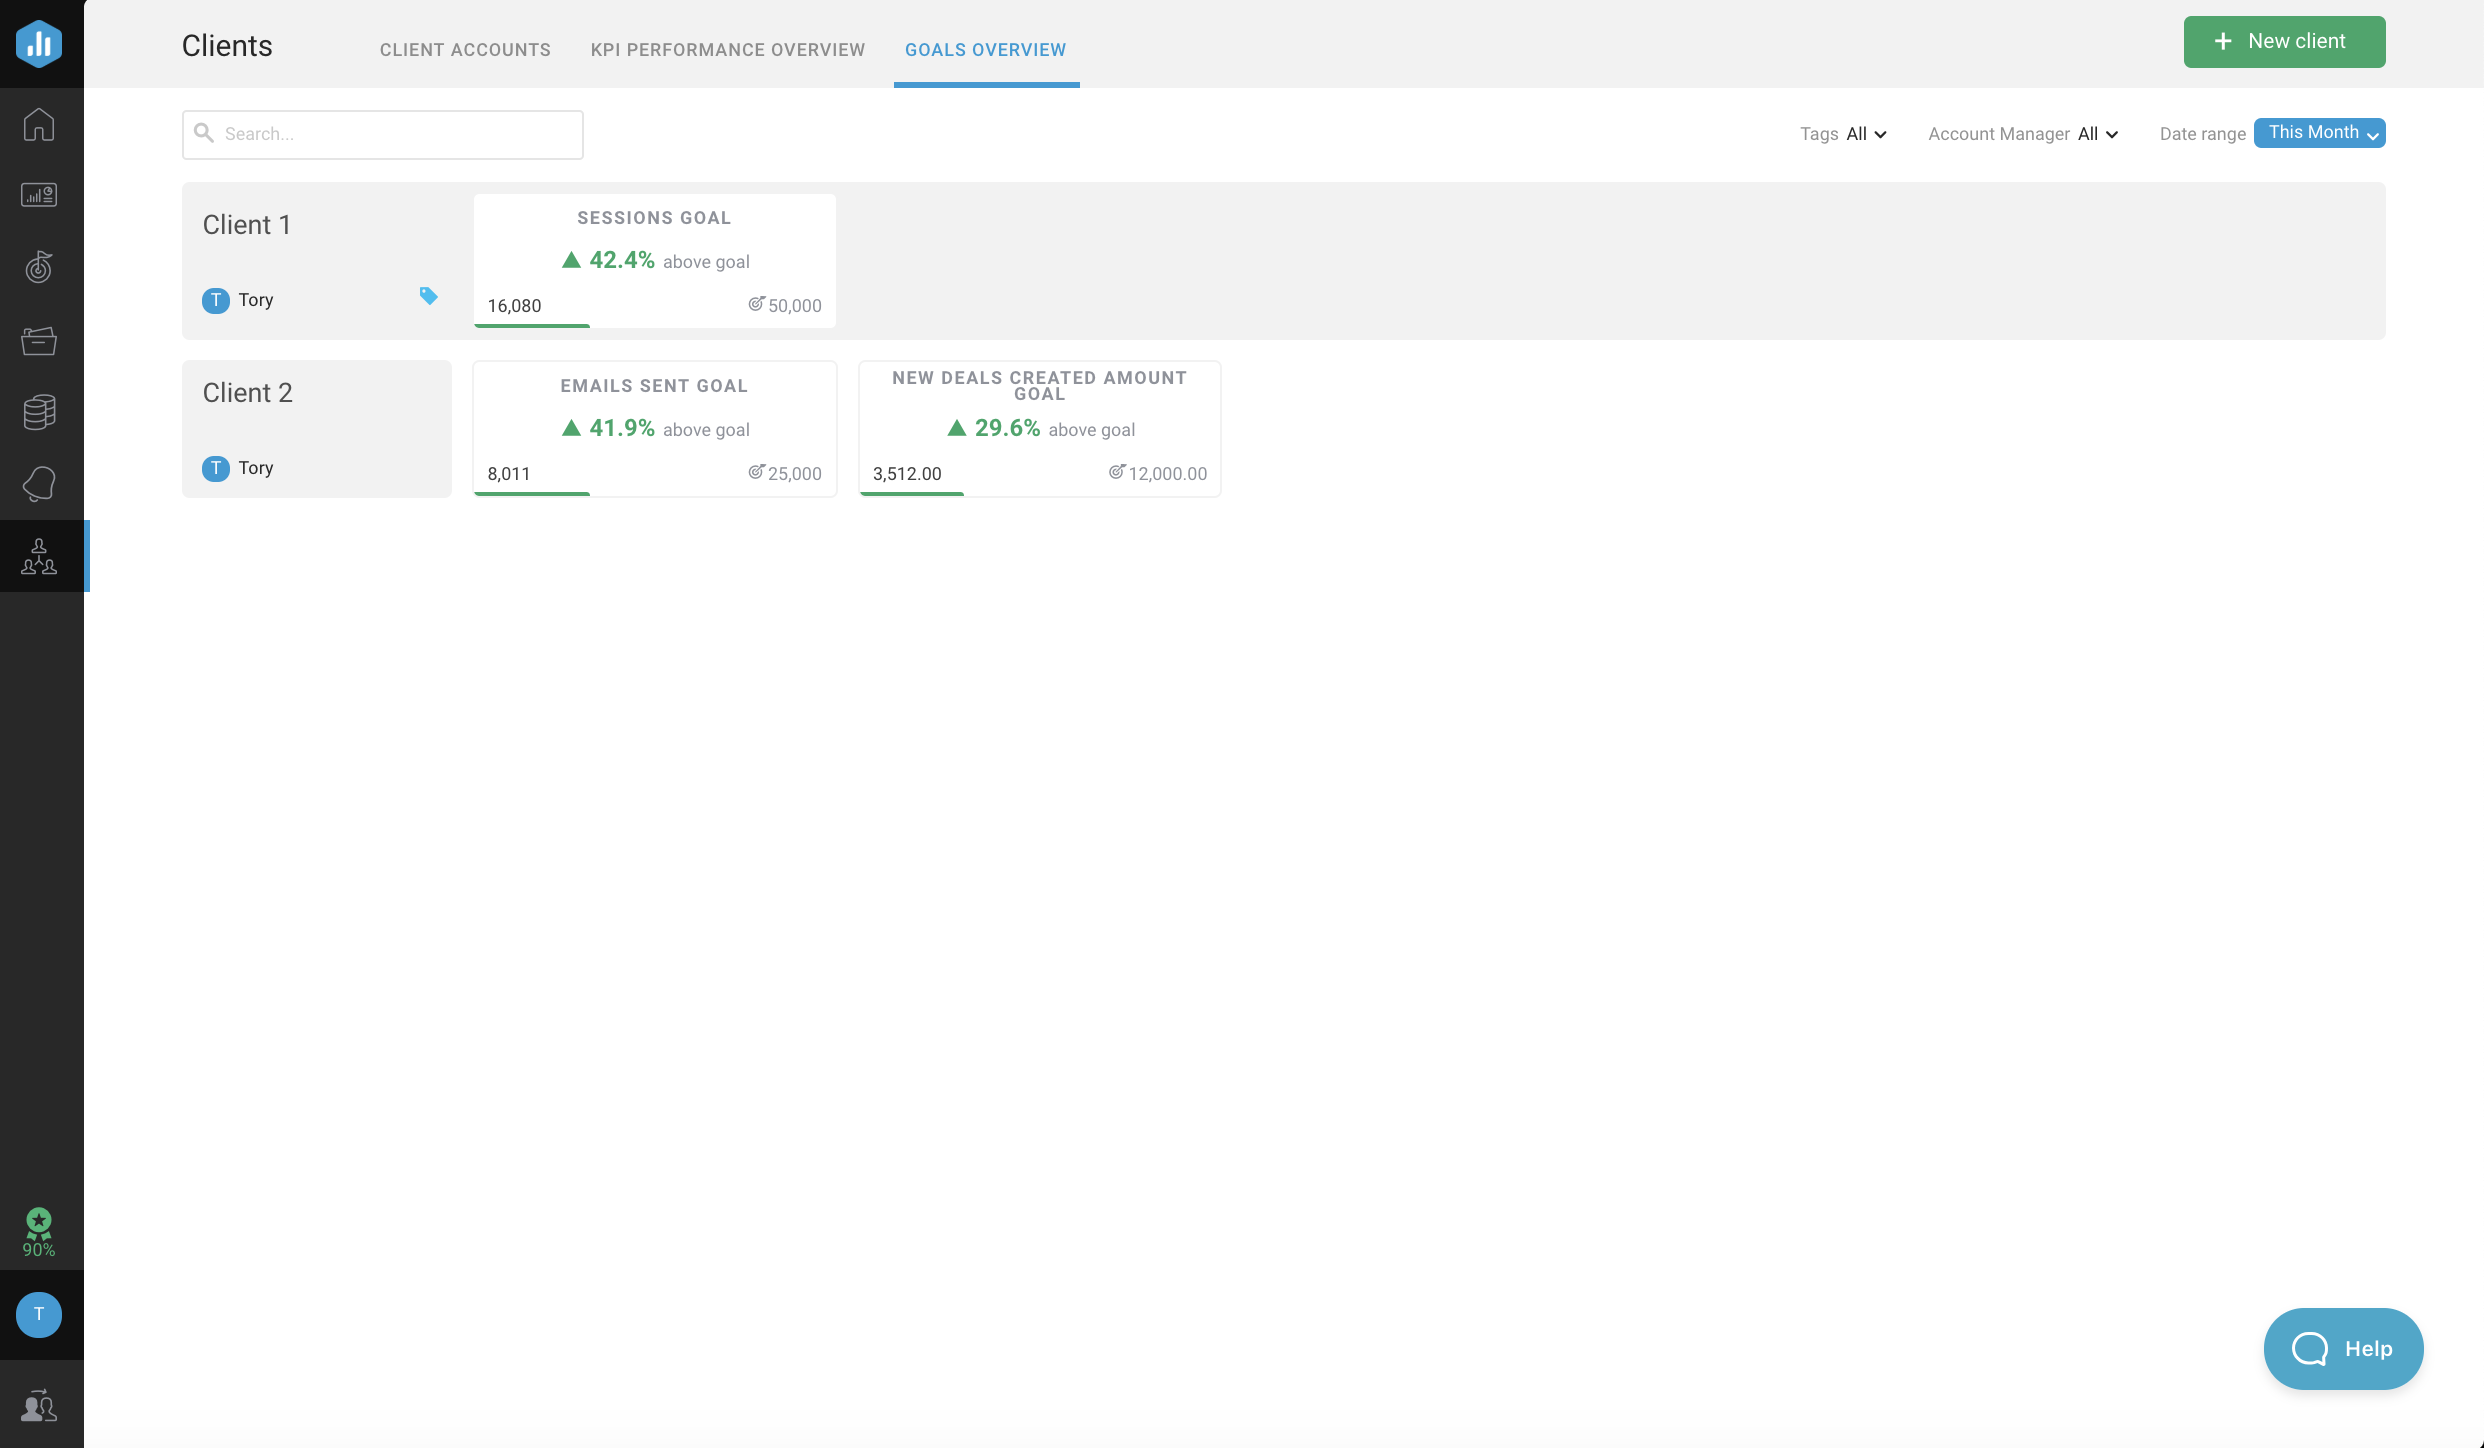 The Client Goal Overview shows your progress towards reaching the Goals tracked in your Client Accounts. Goals must be setup directly within the Client Accounts to show up on the Goal Overview page. Learn more about Goals here.