Keeping stakeholders informed about performance data often requires manual exports, ad hoc emails, and constant back-and-forth. A Databoard notification eliminates that overhead by automatically delivering a snapshot of any Databoard or Looped Databoards as a JPG or PDF on a recurring schedule — straight to their inbox or Slack. Whether you are running weekly performance reviews, sharing monthly summaries with executives, or keeping clients up to date without giving them direct access to Databox, scheduled snapshots ensure the right people see the right data at the right time without any manual effort.
- Click your name in the bottom-left corner and select Notifications, or navigate to Settings > Notifications.
- Click + New notification.
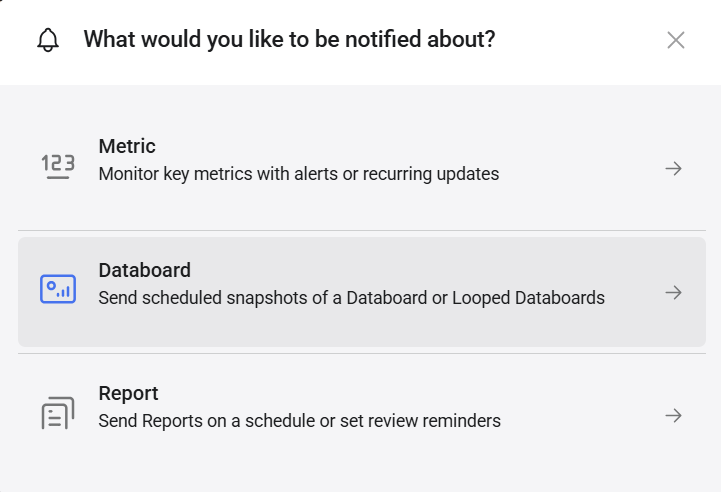
- Select Databoard.
- Search for or select the Databoard or Looped Databoards you want to send a snapshot of.
- Configure the settings described below.
- Click Save.
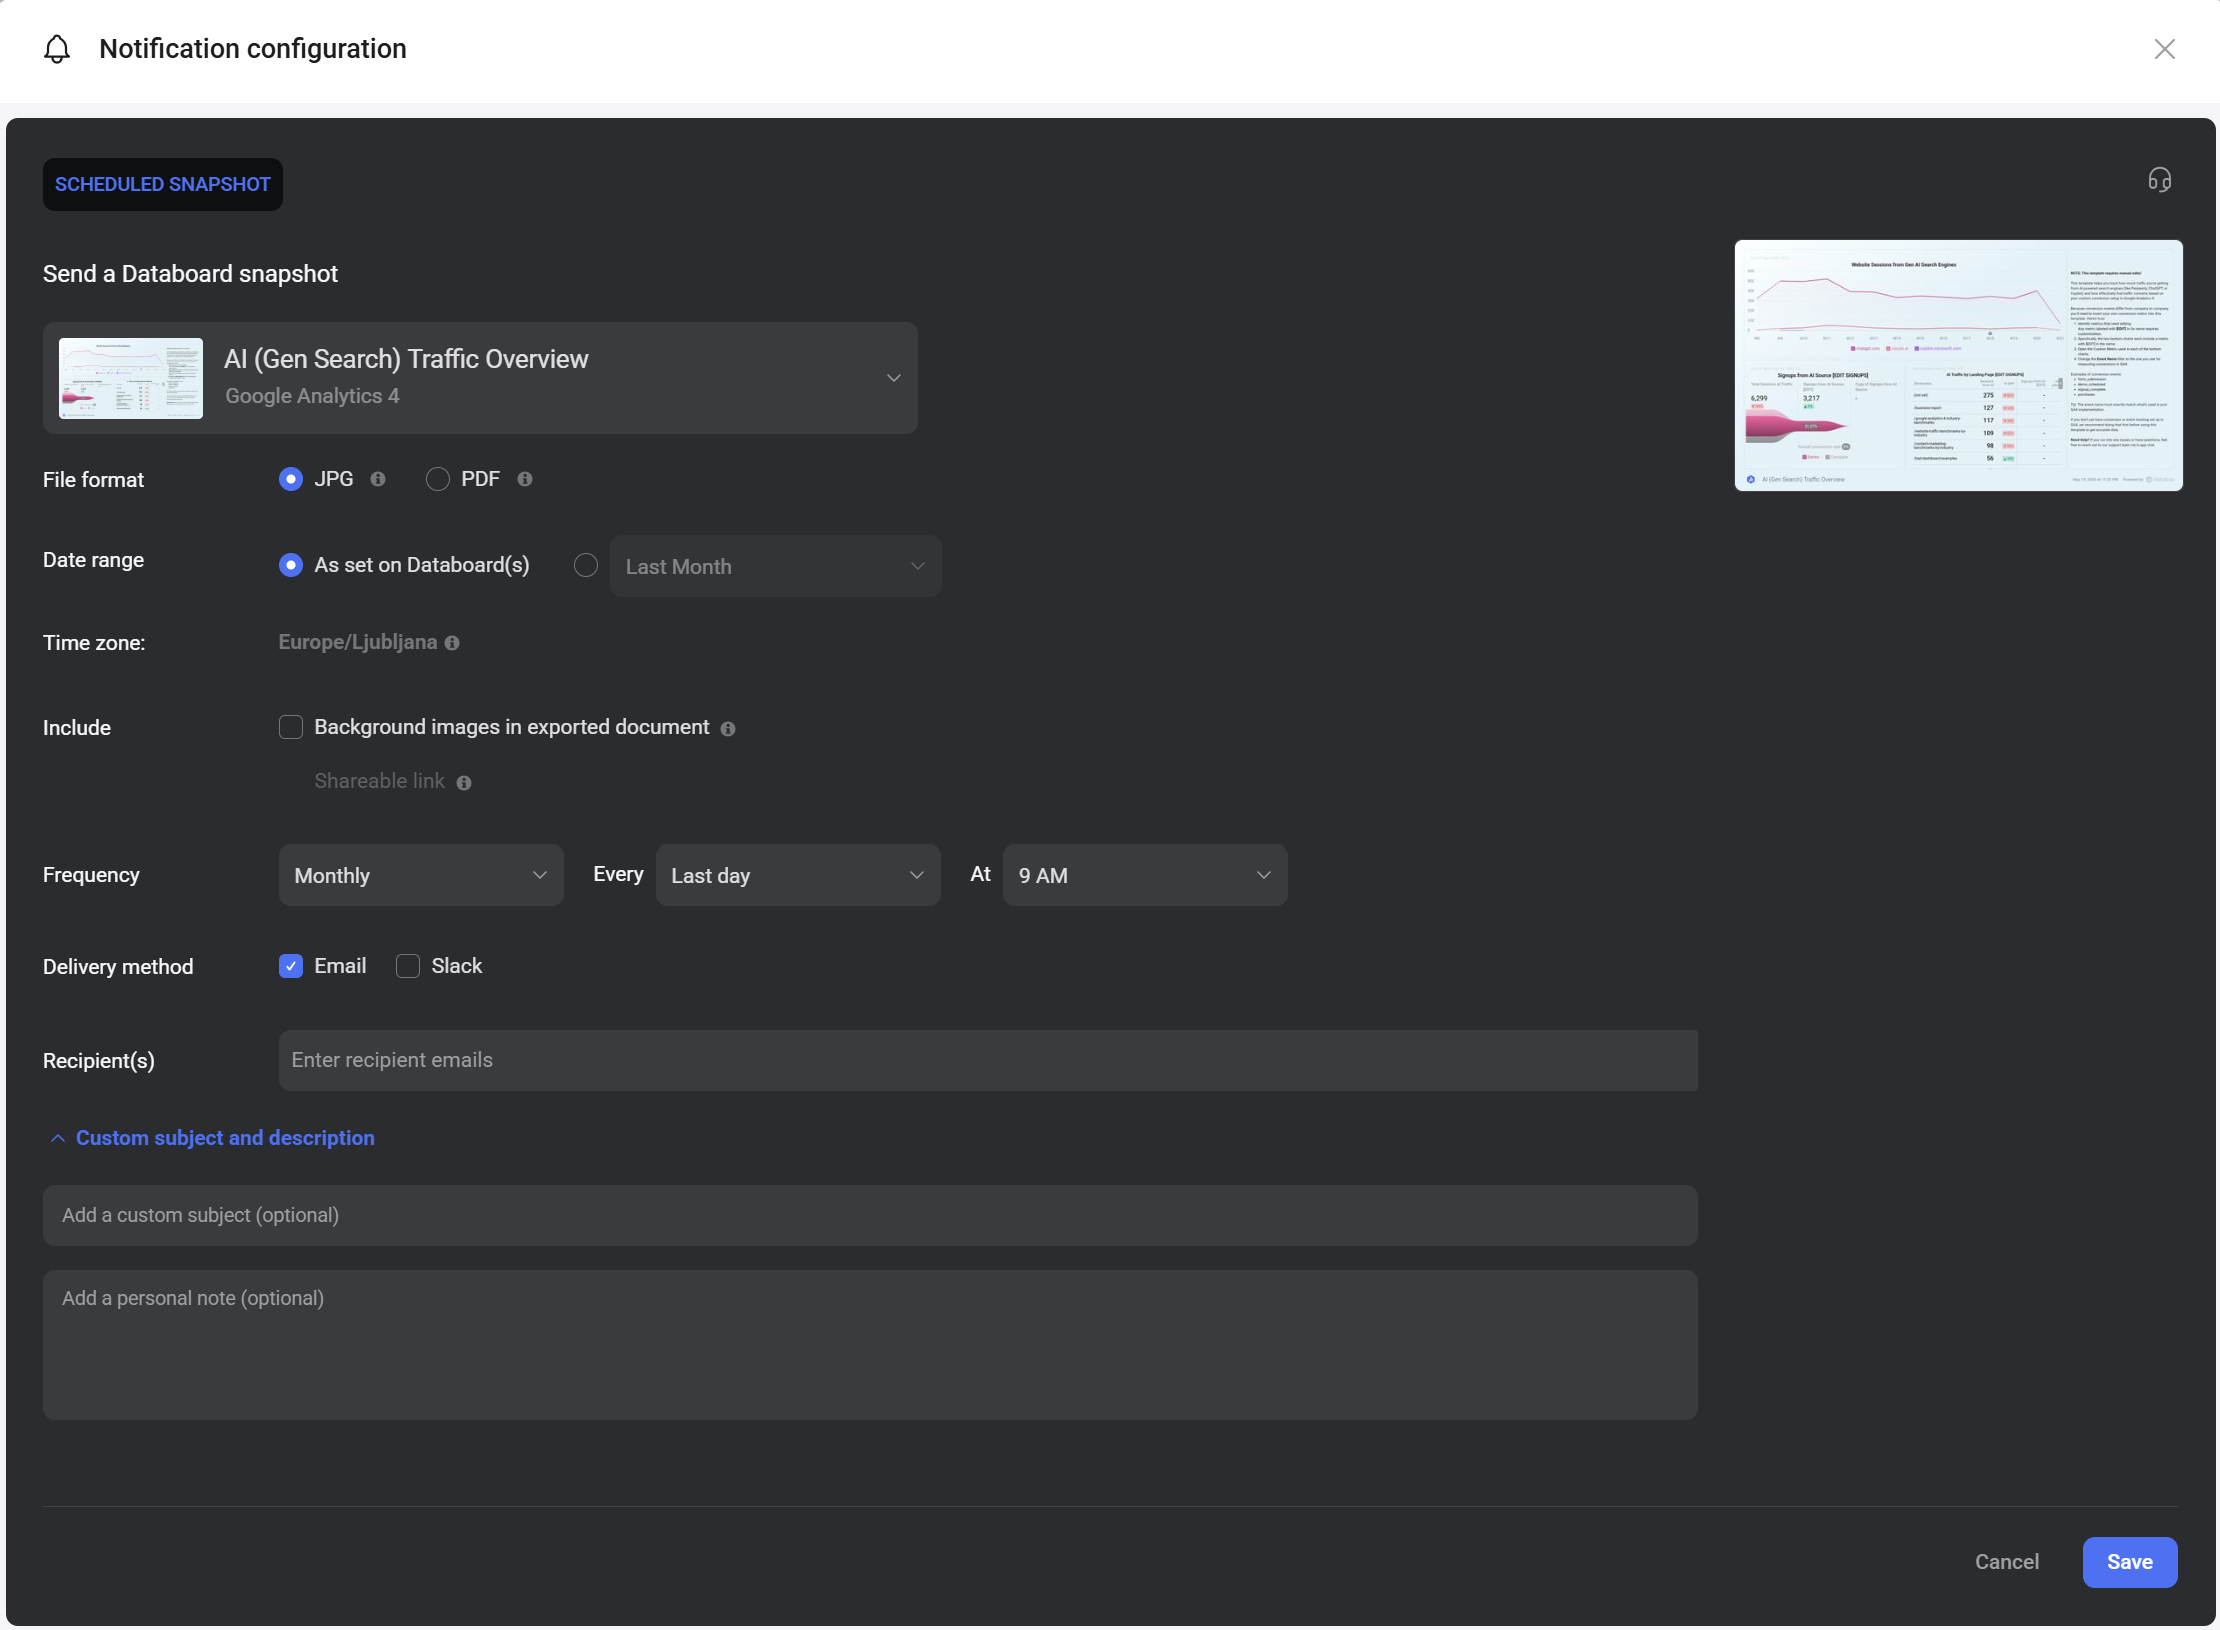
- Databoard: The Databoard or Looped Databoards selected in the previous step. Click the dropdown to change the selection.
- File format:
- JPG — delivers an image of the Databoard. For Looped Databoards, a separate JPG is sent for each Databoard in the set.
- PDF — delivers a single PDF document. For Looped Databoards, all Databoards are combined into one PDF.
- Date range: The date range the Databoard data reflects when delivered.
- As set on Databoard(s) — uses the date range already configured on the Databoard.
- Custom — select a different date range to override the Databoard's default.
- Time zone: The time zone used for scheduling and data display. This is set by your profile time zone.
- Include:
- Background images in exported document — includes any background images set on the Databoard in the exported file.
- Shareable link — includes a live link to the Databoard alongside the snapshot, giving recipients one-click access to the most up-to-date view.
- Frequency: Choose how often the snapshot is sent. Set the interval, the specific day or date, and the delivery time.
- Delivery method: Select Email, Slack, or both.
- Recipient(s): Enter one or more email addresses. You can select existing Databox users from the dropdown or type external email addresses manually. Click + Add after each address to add it.
- Custom subject and description: Expand to personalize the notification:
- Add a custom subject (optional): Customizes the subject line of the email or Slack message.
- Add a personal note (optional): Adds a message body to the notification alongside the snapshot.
- Navigate to Settings > Notifications.
- Find the notification in the list and click Edit.
- Make your changes and click Save.
To delete the notification, click the down arrow (![]() ) and select Delete.
) and select Delete.
FAQ
How can I use Databoard notifications to archive historical data?
Schedule a snapshot to be delivered on the last day of each month at 11 PM. This captures a complete end-of-month view of the data, which you can reference in future reviews without needing to reconstruct it. If you do this for multiple Databoards, use the same custom subject line across all of them so they are easy to filter into a dedicated folder in your inbox.
Which file format should I choose — JPG or PDF?
Use JPG for single Databoards when recipients need a quick visual overview. Use PDF when sending Looped Databoards, since all Databoards are packaged into one clean document that is easier to scroll through and share in meetings.


