Google has officially sunsetted Universal Analytics on July 1, 2023
- Google Analytics 4 is the recommended replacement. Due to the differences in tracking logic used in Universal Analytics vs Google Analytics 4, historical data will not transfer from one to the other.
- Because of this, it's important to get Google Analytics 4 set up as soon as possible in order to start accumulating data in this new system.
Within Google Universal Analytics, you can create Filtered Views to better analyze data that meets certain parameters. This document outlines how to create Filtered Views in Google Universal Analytics and connect a Filtered View directly to Databox.
HOW TO
- Create a Filtered View in Google Universal Analytics
- Connect a Filtered Google Universal Analytics View to Databox
How to create a Filtered View in Google Universal Analytics
- Sign in to your Google Universal Analytics Account
- Click Admin, and select the Account and Property where you want to add the new View.
- In the View column, open the dropdown menu and click Create New View. Enter a name for your new View and click Create View to save.
4. In the View column, select Filters and then select "+ Add Filter" to add a new Filter to the View
5. Enter a name for the Filter
6. Click Predefined filter to select from the predefined filter types. Learn more about Predefined filters here. To build a Custom Filter, select Custom filter. Learn more about Custom Filter fields here.
7. From the Available Views list, select the Views where you want to apply the Filter, then click Add
8. Click Save
Note: Filters require up to 24 hours before Google Universal Analytics fully applies the conditions to your data.
Connect Custom View from Google Universal Analytics to Databox
- Navigate to Data Sources
- Click the green + New Connection button
- Search for Google Universal Analytics and hover over the block. Click the green Connect button
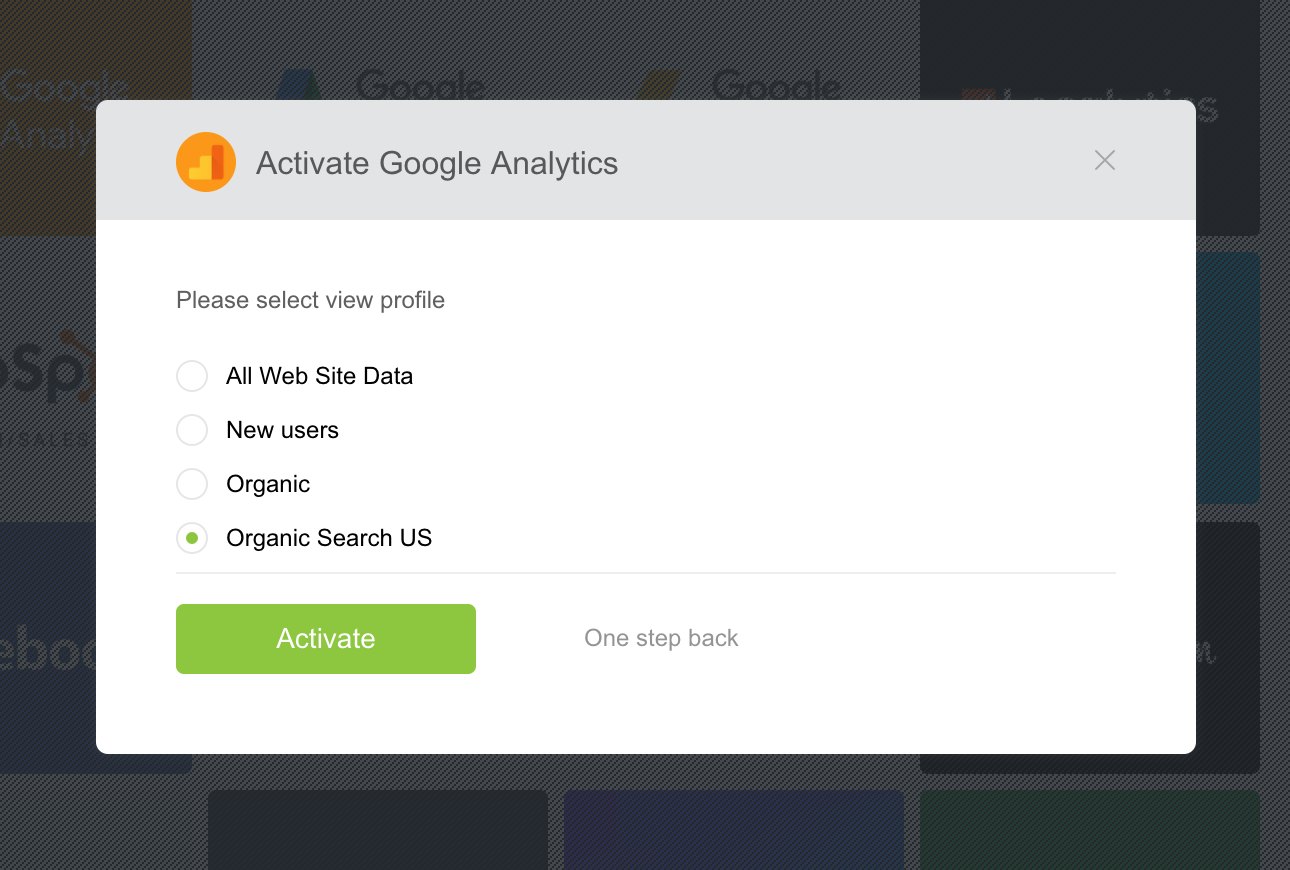
- Select the appropriate Google Universal Analytics Account, Property and View in the connection window. If there is only 1 Property or View for the Google Universal Analytics Account, it will automatically be selected in Databox.
-
Click Activate to complete the connection process